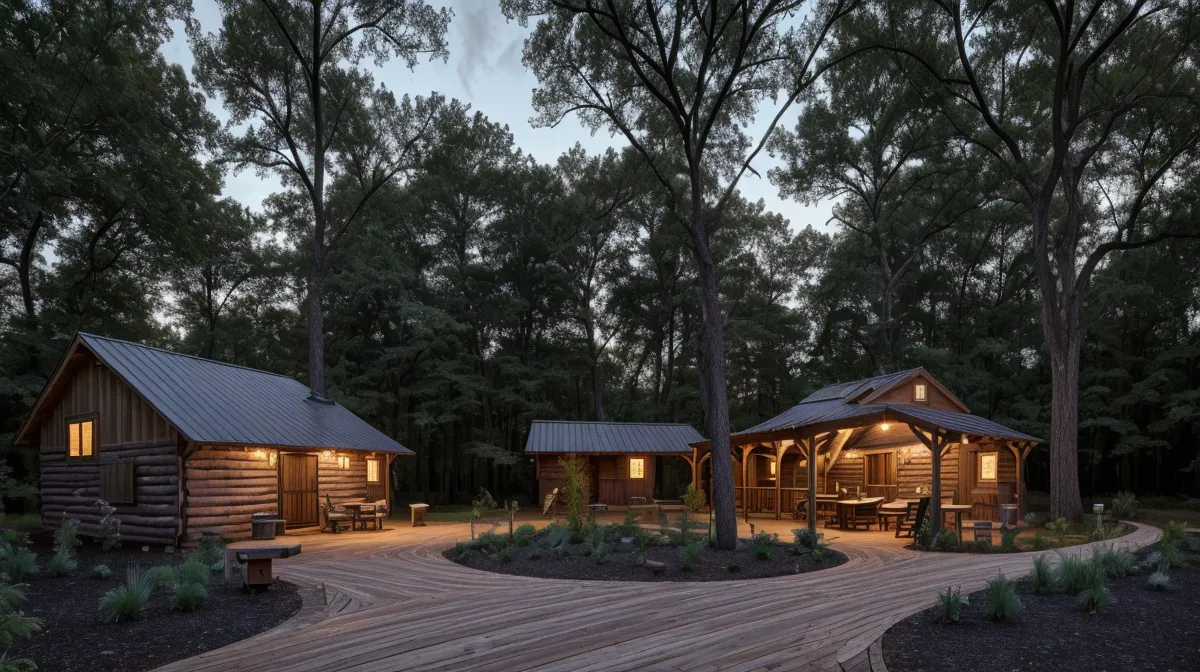
Thirty-two connections, that's how many wire splices it eventually took to light a half-acre yard that used to go fully dark past the porch light, a number neither of us guessed at when we started. The push to get there was simple: catching a boot on a hidden root in the pitch dark between the back door and the coop gets old fast, and a ten-pack of solar stakes wasn't fixing it. A rural lot with mature oaks and uneven ground needs a real low-voltage electrical plan for outdoor DIY lighting, not a handful of plastic stakes hoping for the best.
Why Solar Stakes Can't Replace Real Low-Voltage Landscape Lighting
Solar looks appealing on paper — no wires, no trenching, just push a stake into the dirt and walk away. Under a canopy of mature oaks, though, those little panels rarely get enough direct sun to charge fully, and the output shows it. Ours produced just enough light to locate the general shape of a path, not enough to spot a root — or a snake — before a foot found it first. That gap between decorative and functional is exactly why a standard 12-volt low-voltage system exists: strong enough to actually light a tree canopy and a walkway, with voltage low enough that a nicked wire won't send anyone to the emergency room.
How Voltage Drop Decides Your Wire Gauge
She'd already flagged the problem before we bought a single spool of wire: every long run loses voltage over distance, a real phenomenon called voltage drop, with an unglamorous name and a very visible result. A fixture 150 feet out from the transformer can end up dim and orange while the one closest to the house burns bright white. Most prepackaged lighting kits ship with 16-gauge wire, which is fine for a small bed along a front walk, but across a rural half-acre with long runs toward the tree line, that thin wire can't carry the load. We moved to 12-gauge wire for anything running past fifty or sixty feet, and it turned an unevenly lit yard into one where the far corners looked as bright as the porch.
Jonas, from the county DIY Facebook group, messaged not long after asking whether the 16-gauge wire already sitting in his garage — left over from a kit he'd bought before measuring his run — would hold up past 200 feet. It wouldn't, not without the far end fading out almost entirely. Wire gauge is one of those decisions that needs to happen before the shopping cart fills up, not after the trench is already half dug.
A Transformer Has to Handle the Whole Load, Not Just This Weekend's
A transformer's job sounds simple: take the 120-volt power from an exterior outlet and step it down to a safe 12 volts. Where people get tripped up is sizing it for the full wattage of every zone, not just the fixtures going in this weekend. We chose LED landscape bulbs over halogen, since they draw roughly 80% less energy for the same brightness — that alone let us run more fixtures off a single transformer without needing something the size of a dorm fridge bolted to the wall. Mapping zones the way we did — a path to the workshop, accent lighting on the big oak, safety lighting around the floating deck we'd built freestanding rather than tied into the house — meant adding up every fixture's wattage across every zone before shopping for a transformer, not after.
Burying Wire in Rural Clay (Or Skipping the Trench Entirely)
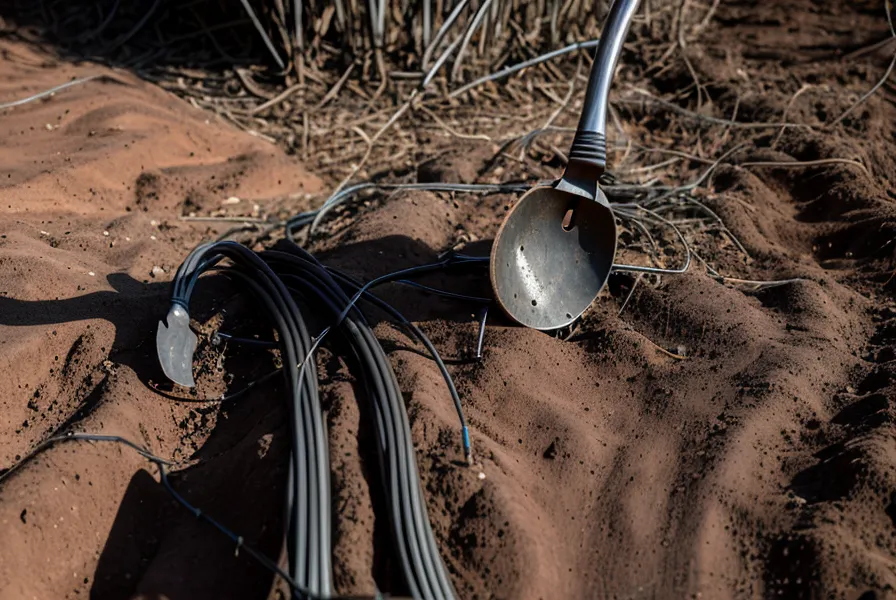
General guidance for low-voltage landscape wire calls for burying it about six inches down, which sounds reasonable in loose garden soil. In North Carolina red clay riddled with buried quartz, six inches turns into an afternoon of a shovel blade ringing off rock every few feet with almost nothing to show for it. Two hours in, we'd covered maybe four feet of trench — fine for a small bed, useless for a property this size. Unlike a deck or a shed addition, a run of low-voltage wire this size doesn't typically brush up against the same permit thresholds that make a bigger structure worth a call to the county first, which at least meant we weren't trying to solve two problems at once.
We'd already learned what skipping real measurement costs on a different build: eyeballed the deck frame instead of checking it square, and ended up three inches out on a twelve-foot span, a mistake that cost most of an afternoon in re-cuts. Shane, over at the county lumber yard, still brings it up; the man's got fourteen antique levels lined up on a shelf above his workbench and zero patience for eyeballing anything. So the trench route itself got measured and mapped, not guessed at. What we did decide to skip, on purpose, was the six-inch depth rule — because this yard is never actually finished. A pergola goes in one season, raised garden beds the next while we're still weighing lumber alternatives for the borders, and a wire buried deep today is a wire a tiller or a post-hole digger finds by accident next spring.

For runs through the garden beds and along the tree line, we started laying wire just under a thick layer of mulch instead of trenching deep. It stays accessible — pull back the mulch, shift the wire, done, no guessing where a dead line sits under solid clay. Site grading matters here too: the shallow run needs to follow the slope of the bed rather than cut across it, or the wire ends up sitting under standing water every time it rains. The one place this shortcut doesn't work is a high-traffic lawn a mower crosses weekly, that wire still needs real depth or a blade finds it eventually.
Which Wire Connectors Actually Survive a Humid Summer?
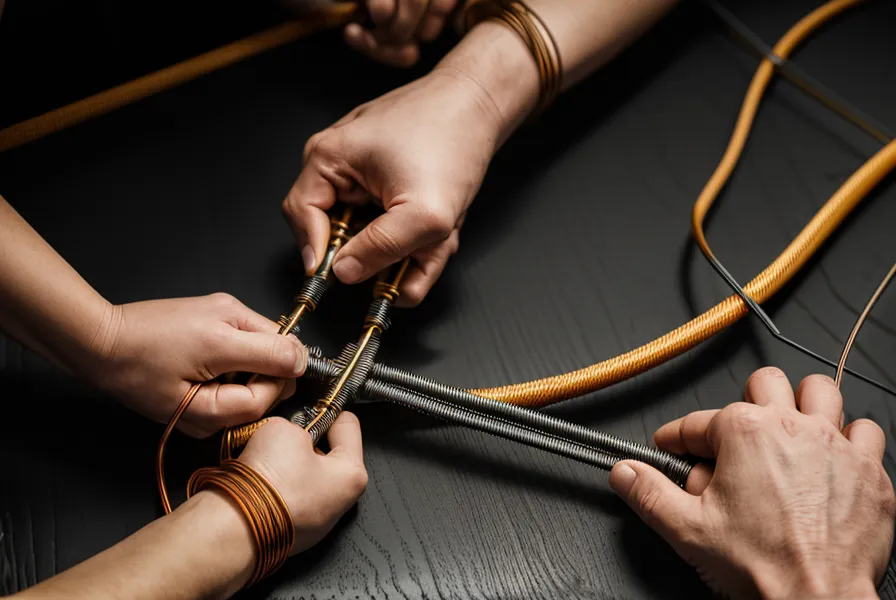
Most lighting kits include piercing connectors, the kind that clamp down and bite into the wire's insulation without stripping it first. They're fast, and in our experience, they're also the first thing to fail. I could feel the difference by about the tenth connector; the piercing kind bite fast and sloppy, while a proper wire nut takes patience and both hands. Moisture works its way into that pierced point, and a humid North Carolina summer turns that moisture into corrosion within a season. The same logic that pushes you toward corrosion-resistant fasteners for anything built outdoors applies just as much to wire connectors, so we switched to waterproof, grease-filled wire nuts on every splice. It takes longer, one connection at a time, but it's the difference between a path that's still lit next July and one that goes dark mid-rainstorm for no obvious reason.
Coordinating Lighting Zones with Everything Else on the Property
None of this happens in isolation on a property that's constantly under construction. Lighting had to route around the deck skirting we'd just installed, aiming fixtures to wash light across the lattice instead of pointing straight into open grass; it reads as a far more finished, intentional look than a beam aimed blindly at the yard. Multi-tap transformers helped balance brightness across zones too: a run to the far edge of the property can carry slightly higher output, around 13 or 14 volts instead of the standard 12, so every fixture reads the same brightness instead of dimming out toward the property line.
Plans got sketched out zone by zone before any wire was cut this time, not figured out live in the trench, a habit that took hold after enough winging-it projects went sideways. Even deciding whose plans to trust turned into its own debate at one point; comparing something like TedsWoodworking vs Self Sufficient Backyard ate up more evenings than the actual wiring did. The lighting layout got the same treatment, mapped out completely before the first splice went in.
Testing a new zone always happens the same way: wait until the chicken coop's shadow stretches all the way across the deck boards and slides off past the fence line, then flip the transformer on. That's the real test — not a clock, just watching the light change — because it shows exactly what the fixtures look like at the moment they need to start earning their keep. Flipping that switch on the last new zone felt a little like the day the final deck board finally carried up flush against the ledger after weeks of nothing lining up right, the specific relief of something you'd started doubting simply clicking into place.
None of the fixtures matter as much as three decisions made before any of them go in the ground: wire gauge sized for your longest run, a transformer sized for the whole load instead of just the first phase, and a burial method that matches how settled — or unsettled — your landscaping actually is. Skip the six-inch trench where the ground's still in flux, keep real depth where the lawn is finished and mowed weekly, and choose connectors rated for actual weather instead of whatever ships free in the box. Get those three right and the rest of the install is just time, patience, and a fair number of mosquito bites.