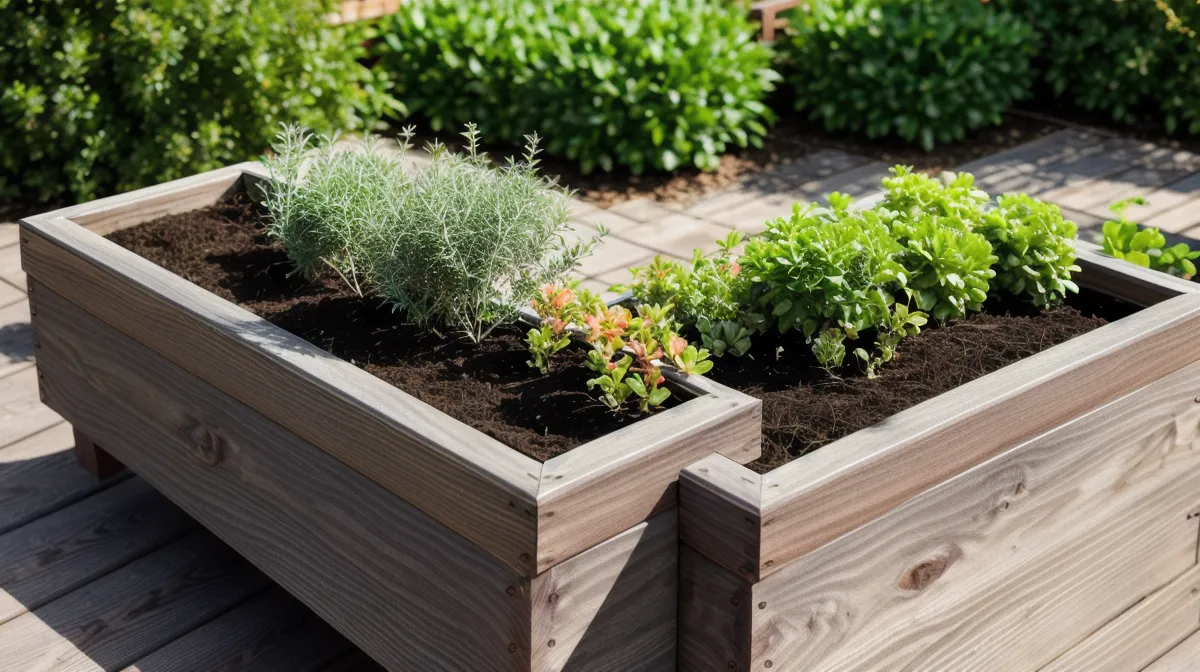
Two. That's how many fence posts we ended up digging back out of the ground and resetting last spring, all because we poured the footings without checking how deep frost actually reaches into Piedmont clay first. That mess is part of why, when it came time to add another outdoor living piece to the backyard, this time a proper DIY planter box, we didn't touch a saw until we had actual, REAL woodworking plans in hand, not another napkin sketch.
Quick heads-up before we get into cut lists and cedar trim — this post has affiliate links in it. If you end up buying plans through one, we get a small commission at no cost to you. We're not neutral about this stuff; these are the same plan libraries we've leaned on for basically every backyard project since we bought this fixer-upper.
Why We Finally Trusted a Cut List for This Planter Box
We've written elsewhere about why we stopped winging it, including the DIY tool storage wall disaster that started the whole napkin-sketch-to-real-plans shift, so the short version here: wasted lumber will cure anybody of eyeballing a design. For this build, we wanted three matching wood planter boxes along the edge of the patio, deep enough for peppers and enough herbs to keep the kitchen stocked through summer.
Our neighbor — the one who vanishes into the woods every November to hunt deer and spends the following weeks butchering it himself — leaned over the fence one afternoon and asked what we were building this time. Who wants to explain a cut list to somebody holding a coffee mug over the fence line? "Something that won't lean sideways by August," I told him, and left it at that.
The footing issue that cost us two fence posts was actually a separate project, but it's the reason we double-check frost depth now on anything set in the ground, planter boxes included, even though these ones just rest on gravel and don't need footings at all.
Picking Wood That Survives Carolina Humidity
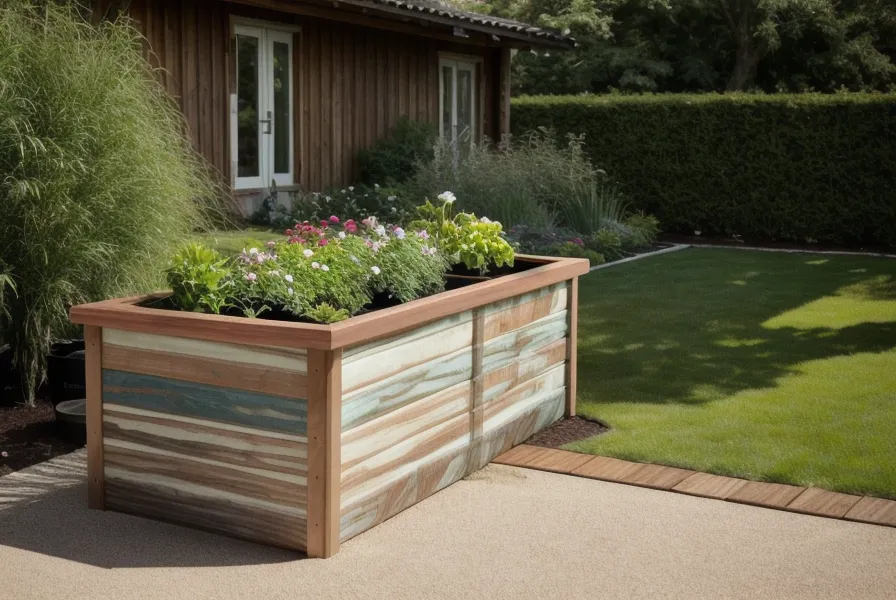
Cedar is what everyone recommends for outdoor planters, and it's naturally rot-resistant, but pricing out enough of it for three boxes made us wince. So we went with thermally modified wood instead: pine that's been baked at high heat until the sugars fungi feed on are cooked out of it, which makes it rot-resistant without the cedar price tag.
It handles our humidity better than we expected, mostly. I left one offcut on the sawhorses overnight during a sticky stretch in August, and by morning it had swollen just enough that it wouldn't slide back into the notch it was cut for, a small, annoying reminder that this climate doesn't forgive sloppy storage, treated wood or not.
We skipped standard pressure-treated lumber entirely for this one, a wrong call for anything growing food in our book, and stuck with the heat-treated pine for the walls, saving the cedar for trim where it wouldn't touch soil.
What's Actually Inside a Professional Woodworking Plan
The plans came from TedsWoodworking, and honestly the size of that library is a little much, tens of thousands of plans in there covering everything from pergolas to gazebos, and it takes some digging to land on the outdoor section. Once we did, the cut list did the one thing our napkin sketches never managed: it accounted for the lumber's actual dimensions instead of the ones printed on the label at the store. We looked at My Shed Plans early on too, which is a solid resource if you're building something bigger like a shed or workshop, but it felt like overkill for three planter boxes.
We still check square, level, and plumb on every corner before driving a single screw, old habit at this point, doesn't matter what we're building. And because these boxes just sit on the patio and don't trigger a permit or an inspector anywhere near them, unlike some of our bigger builds, we went from plan to first cut in a single afternoon.
Building the Box, Piece by Piece
The frame came together first: 2x2 supports on the inside, corners square right out of the gate because the plan told us exactly where every cut needed to land. Siding went next, and because heat-treated pine gets brittle from the baking process, we pre-drilled every single hole; skip that step and the screw splits the board before it's halfway seated.
She took over for the trim, which is where the plan earned its keep the most: a decorative cap on top that made the whole thing look like it came from a garden store instead of our own backyard. We used a strip of actual cedar for that cap, mostly because I like the smell of it running through the miter saw, and it was the last cut of the day, sweet-smelling dust settling over a coffee mug that had gone cold an hour earlier.
How the Boxes Held Up Once the Peppers Took Over
By the fourth week of working strictly from printed plans instead of memory, the fence line out back was already running arrow-straight, not a single leaning post, and the planter boxes were squaring up the exact same way, first try, every time.
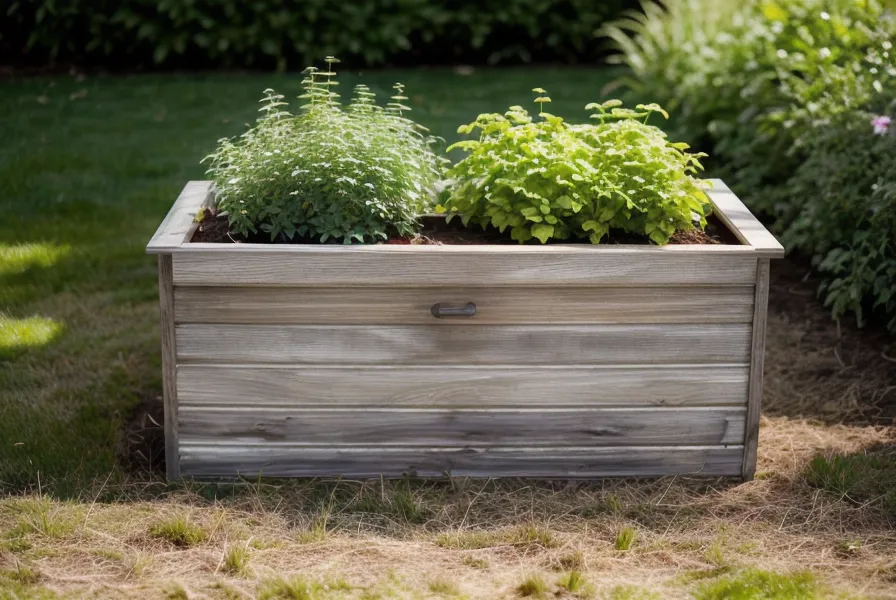
Peppers and herbs are doing better in these than anything that came out of Building Our DIY Potting Bench, our first attempt at growing anything in a container, and we're sitting in zone 7/8 here, which means long, punishing summers for anything planted in a shallow container. Building these boxes deep, with the drainage layout the plan called for, keeps the soil from cooking by July instead of just baking the roots.
The One Lesson We'd Actually Pass On
If there's one thing we'd tell anyone standing in their own driveway staring at a pile of lumber, it's this: the plan doesn't do the work for you, but it does remove the guessing that turns a weekend project into a month of do-overs. Square corners, boards that actually fit the gaps they were cut for, a build that goes together once instead of three times: that's the whole trade.
We still keep TedsWoodworking pulled up on the tablet for pretty much everything now, from planter boxes to whatever the next backyard idea turns into. You don't need all those plans today. But the next time somebody in the house says "we should build a ___," you'll be glad the cut list is already sitting there waiting instead of scribbled on a napkin that's going to end up covered in sawdust anyway.