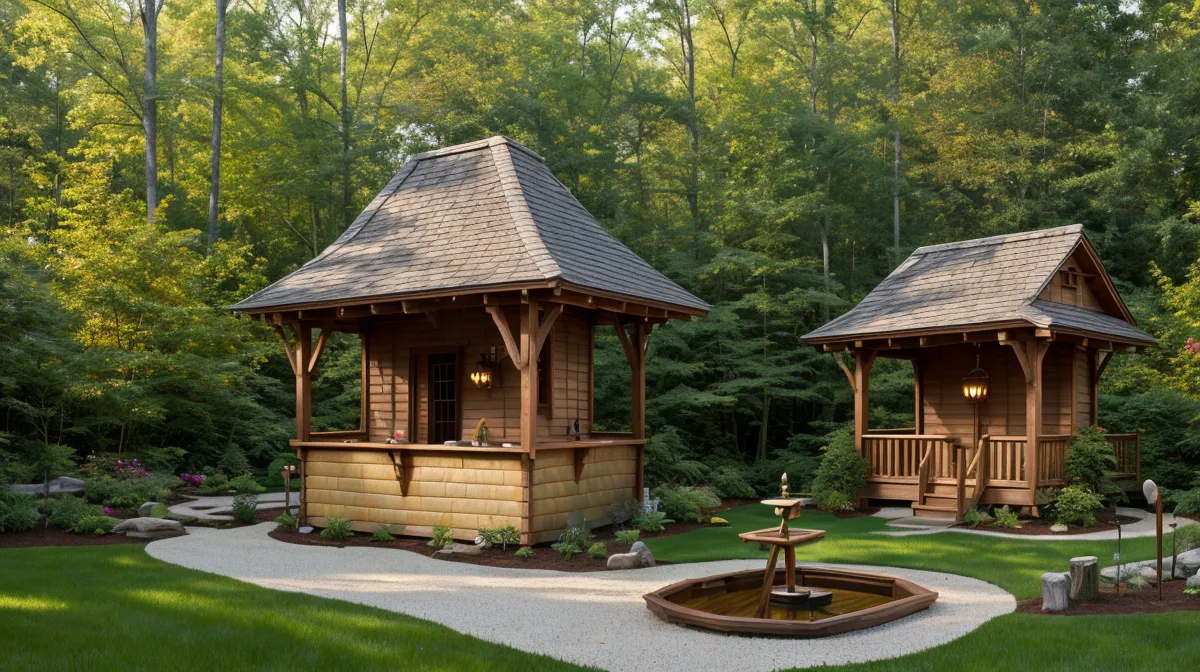
The fake rock over our utility riser had faded from brown to the color of an old bone lying in the middle of the lawn. That's the part nobody mentions about those molded well covers sold as garden decor — they don't age gracefully, they just get uglier every summer until you can't unsee them from the porch. We're not landscapers, and we've never pretended to be experts at anything except finishing outdoor woodworking projects the slow, expensive way, but that plastic lump was the final straw on our little NC homestead. We decided a real DIY landscaping fix was overdue: build an actual wishing well over the riser, something that would hide it and actually look intentional instead of like a leftover prop somebody forgot to haul away.
We did call a contractor once, mostly out of curiosity about working around the riser instead of just covering it. He quoted us something close to triple what we'd set aside for the whole yard that year, glanced at the sketch sitting on our kitchen counter, and told us — honestly — to just build it ourselves off the plan we already had. So that's what we did.
Do You Need a Permit for a Garden Wishing Well?
Short answer: probably not, but check anyway. Permit thresholds for backyard structures usually key off square footage, height, and whether the thing is attached to your house, and a freestanding wishing well this size fell well under every limit we found in our own digging. That said, the real advice is to make one phone call to your county before you mix a single bag of concrete, because thresholds shift depending on where you live, and finding out after the fact is a miserable way to spend an afternoon.
Garden Landscaping Around a Utility Riser You Can't Move
Most guides on garden landscaping tell you to pour a level pad first and build up from there. That falls apart fast in NC red clay, where the ground shifts if you so much as look at it wrong, and it ignores the actual problem — an existing utility riser sitting exactly where the well needed to go. Instead of fighting it, we built around it. If you've got a drainage pipe or riser that isn't going anywhere, treat it as your anchor instead of an obstacle; it's already been in the ground for years and it isn't moving for your landscaping plans.
Clearing a three-foot radius around the riser meant working carefully near lines we'd already mapped out when we went to install a French drain to fix our muddy backyard the year before, so at least we weren't discovering anything new underground. We leveled the soil as much as our yard allows, which is to say not perfectly, then laid down crushed gravel for drainage. We skipped pouring a dedicated footing under the base — the riser gave us a fixed anchor point, and a proper footing is really its own conversation once you're supporting something heavier than a garden structure. We still mixed a few bags of concrete to lock the base ring in place, and getting it thick enough to hold shape without turning soupy took more attention than the mixing itself.
Lumber That Actually Holds Up in NC Clay and Humidity
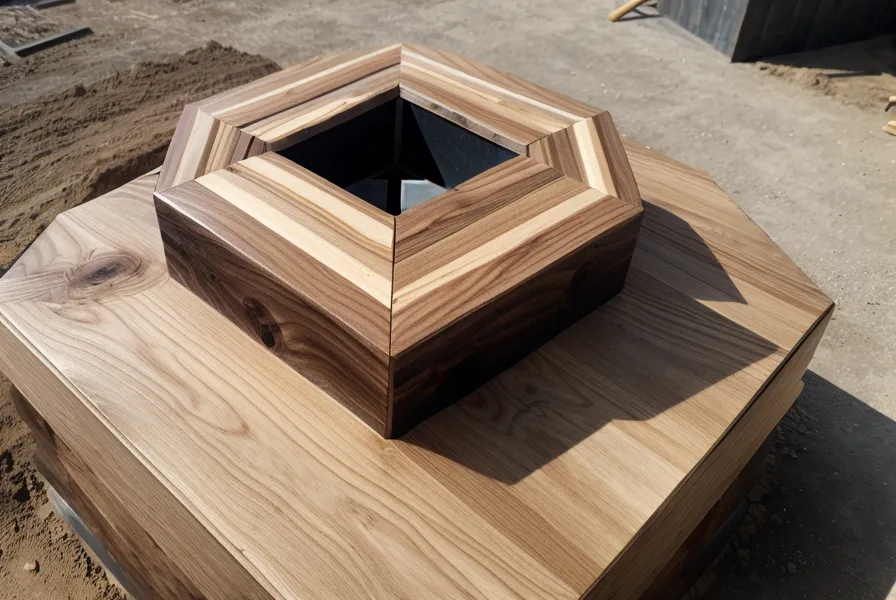
We built the base and frame from pressure-treated lumber rated for ground contact, because untreated boards would rot out in our clay within a couple of seasons. Look specifically for the UC4A ground contact treatment rating — the general outdoor-rated stuff at the store is not the same thing, and the difference matters once the wood is sitting in wet soil year-round. We went with an octagonal shape for the base, because apparently two people who struggle with basic geometry enjoy making projects harder than they need to be.
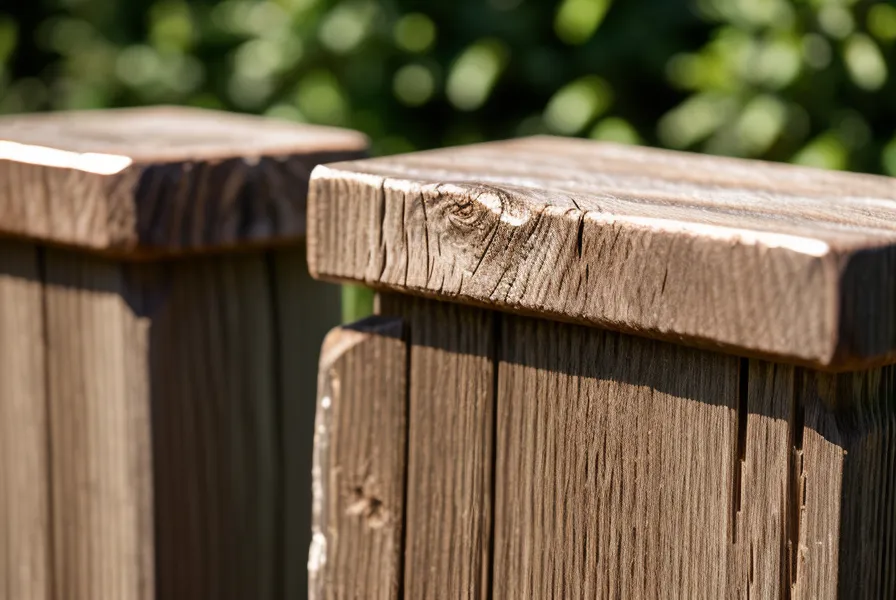
For the uprights, standard 4x4 posts hold the roof, and here's the detail that trips people up: a 4x4 isn't actually four inches square, it measures closer to three and a half. Skip that adjustment in your planning and your roof framing won't center the way you drew it on paper. Our neighbor Dale leaned over the fence while the posts were going in, eyed the stack, and declared them sissy lumber — in his book, anything under a 2x6 barely counts as building material. We let him have that one. The posts have held up fine either way.
The Fastener Mistake That Cost Us a Winter
We'd already learned about fasteners the hard way, on the trim of an earlier project, when ordinary drywall screws rusted through by the following winter and left long orange stains bleeding down the boards. So this time, every screw touching the pressure-treated frame was hot-dipped galvanized, rated to sit against the chemicals in treated lumber without reacting to them. That single fix probably saved us from redoing this whole project a few years down the road.
Keeping an Octagonal Base Square
Eight sides means eight chances to drift off level, and an octagon does not forgive the way a rectangle does. A humid Saturday found us wrangling heavy bags of concrete — mixing it felt like stirring an enormous batch of gray cake batter — while the first two rows of the base went together smoothly enough that we got cocky about it. Then the third row went in, and something looked off. He grabbed the level, we both went quiet, and sure enough, the row had drifted half an inch out from where it should have sat. In fine furniture, half an inch barely registers. On a backyard wishing well, it's enough to make the whole thing look drunk. We tore the top row back off before the adhesive set and started that section over.
That's really the whole argument for checking square and plumb constantly instead of just at the start — not once when you set the first board, but after every row you add after that. It costs you ten minutes each time. Skipping it costs you an entire afternoon of teardown.
Picking a Roof Pitch That Actually Sheds Water
We went with a 45-degree pitch for the gabled roof, steep enough to shed rain fast in a climate that dumps most of its weather in short, heavy bursts. A 45-degree angle is also just an easier cut for anyone without a construction background, since it splits into standard geometry instead of some odd fraction you have to look up. With only two posts holding up a structure this size, span wasn't the issue it would be on something bigger — post spacing only turns into real math once you're talking about a beam holding up something like a pergola roof.
Our neighbor Ruben, who owns every tool ever sold at a hardware store but has never opened a single instruction manual, wandered over while we were setting the angle and asked why we didn't just eyeball a pitch that looked right by standing back and squinting. Fair question. The honest answer is that a pitch you eyeball tends to look right until the first real storm proves it wrong, and by then you're re-roofing instead of building.
No matter how many times we measured, the rafter angles refused to meet cleanly at the peak, and it took a solid stretch of cutting, checking, and recutting in rising humidity before we figured out why. The posts were canted inward by a hair — not enough to see standing next to them, enough to throw off every angle above them. We adjusted the bracing, trusted the math over what our eyes were telling us, and the rafters clicked into place on the next try. We braced the whole frame diagonally with scrap lumber while the glue and screws set, which is the only thing standing between a freshly built frame and it racking sideways in a stiff wind.
We Draw Everything Before We Cut Anything
We sketched this whole thing out before cutting a single board, start to finish, dimensions and all. After enough backyard projects, we've learned that winging it from a mental picture is how you end up back at the store for a board you should have bought the first trip. A plan on paper also means you catch the geometry problems — like a roof pitch that won't center over an octagon — before you've already cut the wood wrong.
Cedar, Movement, and the Garden Decor Finish That Lasts
The frame is pressure-treated for strength, but the visible parts are cedar — shingles on the roof, slats wrapping the base. Cedar holds up well in North Carolina because it contains natural oils that work as a built-in preservative against rot and insects, on top of just smelling incredible while you're cutting it. Cedar also moves with humidity more than treated pine does, so we left small gaps between the slats instead of butting them tight — boards that fit snug in July will gap on their own by January anyway, and building the gap in on purpose looks a lot more intentional than the alternative.

We added a wooden bucket on a heavy rope and found a hand-crank spindle that actually turns, mostly so we can keep the bucket up out of reach of the neighborhood kids rather than for any real wishing-well function. It turned a utility eyesore into the kind of garden decor that actually looks like it belongs out here on our half-acre near Chatham Mills, outside Pittsboro, instead of something dropped in the middle of a used car lot.
Was Building It Ourselves Worth It?
If you're staring down a utility riser, a drainage stack, or anything else in your yard you can't move, our answer is simple: design the structure to work with the obstacle instead of around it. Anchor to whatever is already permanent, and let the rest of the build follow from there — it saves digging, saves fighting the ground, and gives the whole project a reason to be exactly where it is.
It's not a perfect build. Look closely at the back side and you can still see where we shimmed a cedar slat to hide that half-inch drift from the third row. That's fine. It's the same stubbornness that got us through building a DIY smokehouse after our growing season finished the year before — you just keep measuring and keep adjusting until it matches the sketch. Now, when we're out on the porch at sunset, there's no plastic rock staring back at us. There's a cedar-clad wishing well we built ourselves, and it's outlasted two full seasons of NC storms without a single repair.