The thing that's supposed to protect your backyard build from a North Carolina winter can be the exact thing that rots it instead. That realization showed up uninvited the week we started winter prep on the workshop out back, one more outdoor construction project that was, predictably, nowhere near finished. Every backyard DIY thread we'd ever scrolled through said the same thing about wood preservation before cold weather hits: seal it, caulk it, don't leave a single gap open anywhere. We believed that for exactly one season. Then we watched it almost ruin a shed.
Winterizing a shed, a coop, a deck, or a half-built workshop standing exposed at the back fence line isn't about sealing the thing into an airtight box before the first freeze. Rural North Carolina sits in USDA Hardiness Zone 7b, which means winters here aren't simply cold — they're a repeating freeze-thaw-damp cycle that can warp a straight board in a matter of weeks. It's about where the moisture already living in that wood is going to go once the temperature drops, and whether the structure can still breathe while it figures that out. Get that part right and the specific sealant on the shelf barely matters.
Winterizing Isn't About Sealing Everything Shut
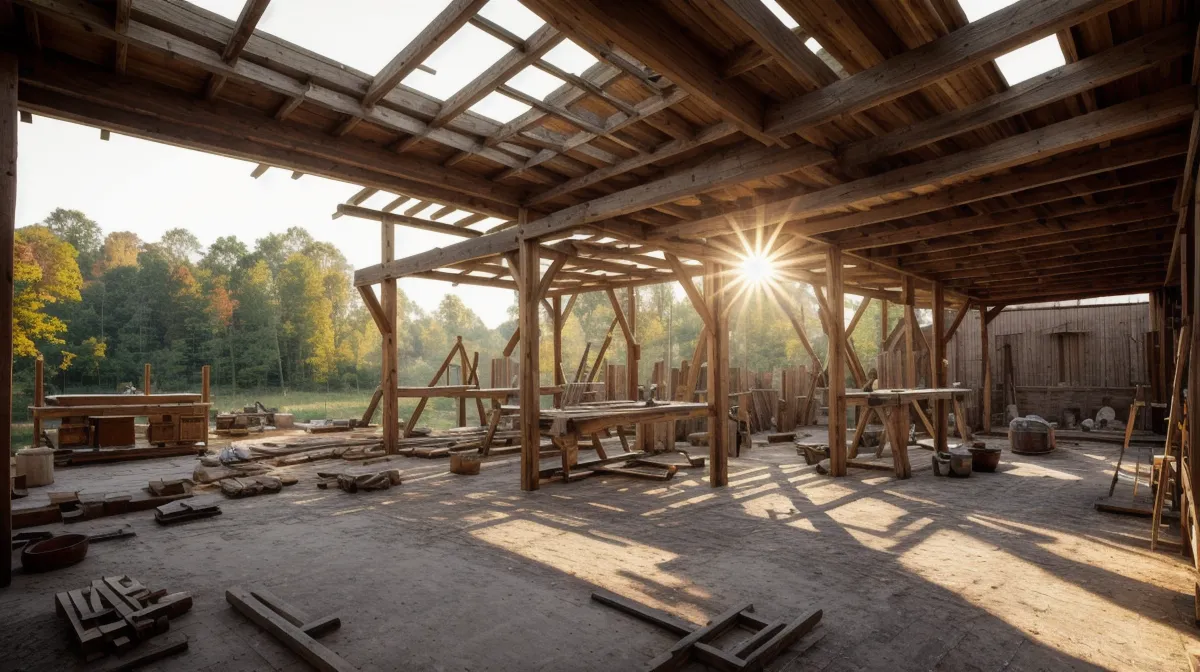
Our workshop is still only three-quarters framed: OSB up on the east and north walls, a blue tarp doing the job of a fourth wall on the south end, which is a pretty normal state for a backyard build in the North Carolina Piedmont any given November. Because it's not closed in yet, we got a crash course in airflow before we ever touched a sealant can. Pack every seam with foam and caulk, and the temperature swing between inside and outside during a freeze turns the interior walls into a condensation machine. That moisture doesn't evaporate because you wished it would. It sits in the wood fibers and starts rot from the inside, which is a worse problem than the one you were trying to solve.
He wanted the whole thing buttoned up tight before Thanksgiving. I wanted actual vents at the soffits and gables, even though leaving gaps in a building you just spent weeks weatherproofing sounds backwards. Walking past the raised beds on the way out there, kale was still standing tall in November without so much as a frost cover over it, which is a strange thing to notice mid-argument about caulk, but it stuck with me; some things don't need to be sealed tight to survive the cold, they just need the right conditions around them. Patrice, a friend from our neighborhood Facebook group, keeps a running spreadsheet of every dollar she's spent on her own raised beds, precise enough to make an accountant nervous, and even she says half her best results came from doing less to the beds, not more.
Does Pressure-Treated Lumber Already Cover Your Winter Prep?
Pressure-treated wood gets treated like a cheat code, like the chemicals already did the winterizing for you. They did NOT. We spent a whole afternoon running a moisture meter over the lumber before anything got sprayed, because the number that actually matters is 15 percent moisture content or less before staining. Go higher than that and the sealer just traps water under a shiny top coat, which is a lot like vacuum-sealing produce you never let dry first — you're not preserving anything, you're locking the problem in with the good stuff.
For anything close to the ground, we checked for a pressure-treated wood rating of at least UC3B on the tag, which tells you the wood can handle the kind of prolonged dampness that shows up when Piedmont fog refuses to leave for three straight days. That's not the same thing as the general pressure-treated-versus-untreated decision you make when you're buying the lumber in the first place — that's its own argument for a different day. We also waited for three consecutive dry days before spraying anything, because the chemicals in stain and sealer won't bond if the dew point is working against you, no matter how treated the board underneath is.
Fix the Ground Before You Trust the Sealant
Sealant gets all the credit and the ground gets none of it, which is backwards considering where most of our rot problems actually started. Red clay doesn't just sit there — rain hits it and bounces straight back up into the bottom six inches of whatever's sitting nearby, sealed or not. Moving water away from a structure is really a grading and drainage problem more than a wood-treatment one, and we treat it as its own project every time now.
He found a guy through a classifieds post to help regrade around the workshop footprint and haul gravel for a drainage border, figuring an extra set of hands would get the whole job done before the cold snap hit. No written scope, just a handshake and "fix the drainage." Two days in, he wanted to call the easy half done and move to his next job; we wanted the slope finished all the way around first. The job stalled right there until we picked the shovels back up ourselves, drove out to Tractor Supply Co. in Siler City for the rest of the gravel, and finished the border in an afternoon. Hiring help without writing down an actual scope turned out to be its own version of building without a plan — basically the same lesson we'd already learned the hard way with Why Our First Garden Bed Rotted and How We Built the Last One We Will Ever Need, where skipping the groundwork cost us more than doing it right the first time would have.
The Timing Trap Behind Every Winter Prep Stain Job
We've come a long way since we were comparing Building Our Way Out of a Half-Acre Money Pit: TedsWoodworking vs Self Sufficient Backyard just to figure out whether we could build anything sturdy enough to survive its first winter. These days the argument is narrower: oil-based penetrating stain over a water-based film, every time, because wood keeps expanding and contracting through a Carolina winter and a film-forming coat just can't keep up with that movement. It peels in sheets, right when you need it most. Oil soaks into the fibers instead of sitting on top of them, so it moves with the wood instead of fighting it.
End-grain got the most attention, since the cut ends of boards and the bottoms of posts soak up liquid at something like 250 percent the rate of the flat face; leave those unsaturated and you've basically left the front door open. Before any of that, every board got a scrub with a stiff brush, because new lumber straight off the rack usually carries a layer of mill glaze that stops sealer from soaking in at all. Then we checked three separate weather apps, not one, looking for 48 hours of clear skies afterward, and made sure the temperature was sitting above 50 degrees Fahrenheit — any colder and the oil gets too thick to actually penetrate the wood. Treated lumber's chemical load is also why the fastener question matters almost as much as the sealant one, though that's a rabbit hole for another day.
What Actually Held Up When the Ice Came
Wanda Telfair wrote in after the chicken coop post went live, wanting to know if the A-frame design actually holds up once the ice storms start. She writes in full paragraphs, always polite, always with a follow-up question, and this one didn't have a short answer. The coop held, but not because of anything we sprayed on it. It held because the ground around it drains, the joints can still breathe, and we checked the moisture before we ever touched a sealant can.
That same coop sits twenty feet off the back fence, and most afternoons now I catch its shadow sliding across the deck boards as the sun drops below the fence line — the same deck that's still square two winters later, for what that's worth. None of this was ever about finding the one magic product. It was about the order you do things in.
So here's the actual rule, not the marketing version: check the moisture before you stain anything, fix the grading before you blame the sealant, and leave your vents open even when every instinct says seal it tighter. The stain is the last five percent of winterizing a backyard build, not the first move. Get the other four steps right and it barely matters which can you grab off the shelf.