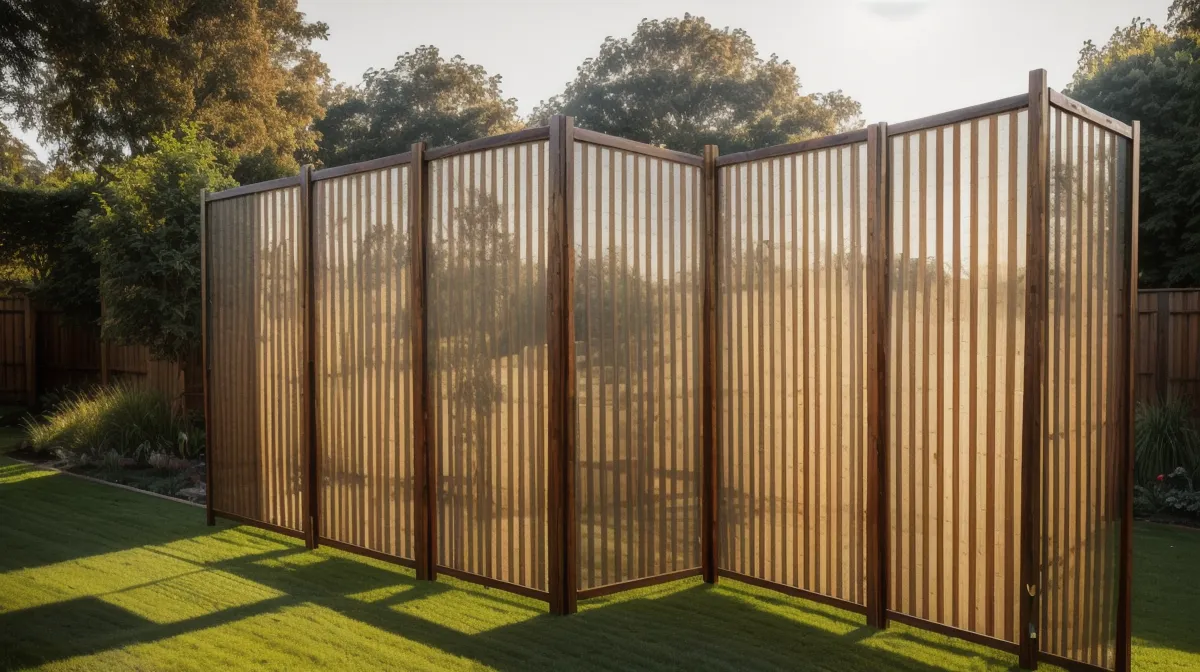
Slat one goes up flush against the post. Slat two goes up an inch below it, with a gap you can see daylight through, and that gap is basically the whole argument in miniature — solid coverage versus airflow — that's been running between us since we started this DIY privacy screen for the back porch. The neighbor two lots over can see straight onto that porch from his tractor seat, which is fine for a wave but not for dinner, and every backyard privacy option we found for this outdoor woodworking project, out here in the NC Piedmont, split cleanly into two camps: build it solid, or build it with gaps.
Solid Fence or Louvered Screen: The Argument at the Kitchen Table
We'd narrowed it to two real options before a single post went in the ground. A solid board fence — tight, overlapping, zero daylight between boards — solves the sightline problem completely and takes less thinking to build, since every board just nails up flush against the last one. A louvered screen, angled slats with space between them, needs more layout math up front and takes longer to assemble, but it doesn't sit there like a windbreak in a yard that already traps a wet Piedmont summer against your skin. We'd watched that lesson play out two doors down, where a solid privacy fence went gray and streaky within a year because nothing behind it ever fully dried out.
Cedar for the slats came from the same lumber yard where Shane — the floor guy who texts us whenever cedar goes on clearance — glanced at our sketch and said "one weekend, sure," in the flat tone of a man who has heard every homeowner say that and watched approximately none of them mean it. He wasn't wrong to doubt us. We didn't pull real plans for this one either, just a grease-stained sketch at the kitchen island, a habit we've had to unlearn on bigger builds after it cost us more lumber than it should have.
Why a Solid Backyard Fence Loses in a Piedmont Summer
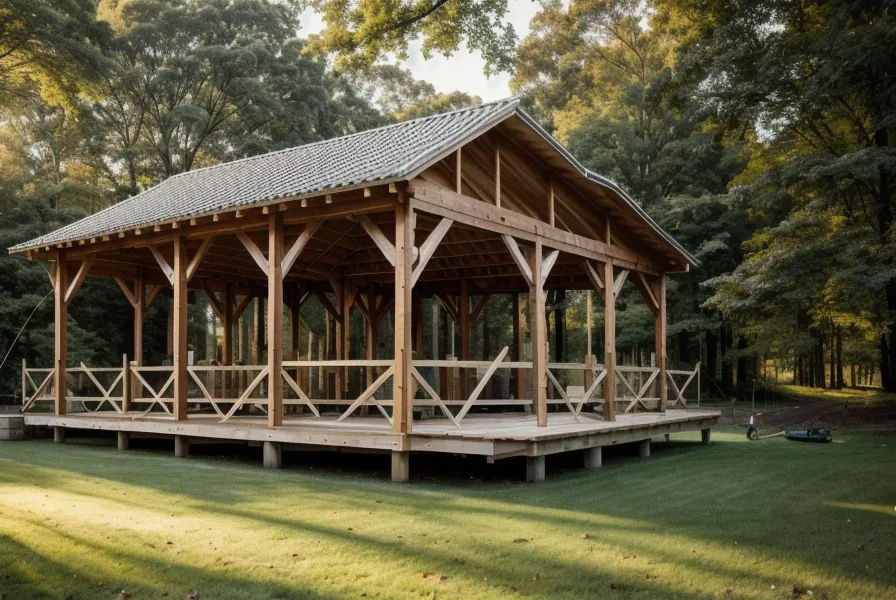
Here's the physics nobody explains at the lumber yard: a solid wall in a humid climate doesn't just block the neighbor's view, it blocks the air too, and the air was doing you a favor. Stack enough moisture behind a flat surface with nowhere to go and you get the exact convection-oven effect we were trying to avoid — heat and damp sitting still instead of moving through. So why does a taller, gappier screen end up feeling more open than a shorter solid one? Because the wind doesn't die at the fence line, and a breeze moving through beats a few extra inches of coverage every single time.
There's a separate argument about pressure-treated versus untreated lumber that applies to a project like this no matter which style you pick, and we've gone deep on that elsewhere — the short version is that anything touching the ground in our clay needs the treated stuff regardless of how the screen above it looks. Height matters too, in a way people don't expect: creep a privacy structure past a certain point, or make it look enough like an actual building, and you can cross into permit territory before you've bought your first bag of concrete, which is its own conversation we've had in more detail elsewhere.
What the Louvered Design Costs You in Setup Time
The tradeoff shows up fast once you start digging. We hit a buried oak root about eight inches down on the very first hole, which turned into FOUR hours of a reciprocating saw and a pry bar fighting one root while concrete waited in the wheelbarrow. How deep the footings actually need to be for something this size is its own rabbit hole, one we already went down in detail in our shed post, but we erred toward deeper rather than shallower and don't regret it. Pressure-treated posts are noticeably heavier wet than dry — heavy enough that hauling them across half an acre feels less like moving lumber and more like moving furniture — and the cedar for the slats needed its own separate cutting pass since we weren't mixing species on the structural parts.
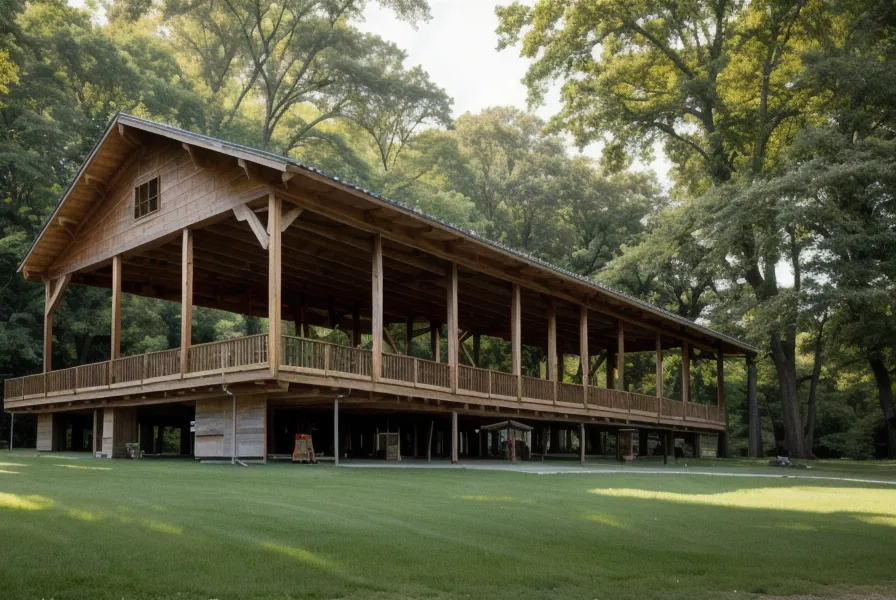
A "4x4" post, for what it's worth, is not actually four inches square — there's enough of a gap between the nominal size on the sticker and the actual board in your hand that it trips up plenty of first-timers, which is exactly why we keep our own Lumber Dimensions Reference Chart bookmarked before every build. Driving screws into the posts, you feel it the second the bit catches a knot in the pine — that jolt shooting straight up through both wrists as the driver skips sideways instead of sinking in, which is as good a reminder as any to ease off the trigger. Fasteners matter here too: treated lumber eats standard screws over time, so everything holding this together needed to be rated for treated wood specifically, not just whatever was already sitting in the bin.
Getting the Posts Square Without Guessing
Getting a post square, level, and plumb all at once, and keeping it that way while concrete sets, is its own skill — one we've written a whole separate post about after learning it the hard way. We already knew the cost of skipping it: we once eyeballed a deck frame instead of squaring it properly and ended up three inches out of true across a twelve-foot span, a mistake big enough that we now check every post at least twice no matter how obvious the angle looks. So this time we checked. And still caught the main corner post leaning half a degree once the level bubble drifted to the far edge. Not enough to see from the porch, but enough that we had to shim every bracket down the line just to keep the slats reading horizontal.
Compare that to the workshop door out back, framed square on the first real attempt, which still swings shut under its own weight two years later without catching or dragging even slightly. That's the whole case for slowing down at the post stage. You can shim a bracket to fake level. You cannot shim your way out of a post that's leaning, not once the slats are all hung and the angle is doing math against you the entire length of the screen. We ended up trimming forty-two individual slats by half an inch each because we'd measured the gap between the posts but forgotten to subtract the width the brackets themselves added on both sides; the construction equivalent of doubling a recipe without accounting for a bigger pan, and a correction that cost an hour and a pile of cedar dust that would have cost nothing if we'd measured the bracket first.
So Which One Should You Actually Build?
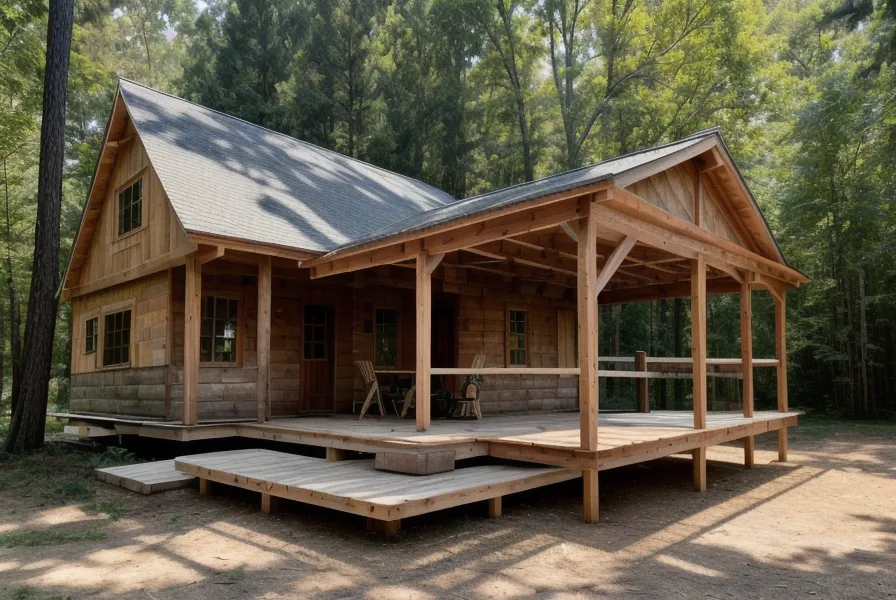
Build the solid fence if privacy is genuinely the only variable you care about and you don't mind inspecting the shaded side for rot every couple of years. Build the louvered version if the space behind it needs to function as somewhere you'll actually sit for hours in July, because the airflow is what makes that possible: a solid wall gives you privacy, but a gapped one gives you a porch you'll still want to use in August. Jonas, from the county DIY Facebook group who comments something enthusiastic on every single project posted there, drove over just to see the slats in person and asked if he could copy the design exactly, with solid boards and all, missing the entire point, but too excited about it for anyone to correct him.
The wood needed time to dry out before it could take a clear sealant, and once it had, sitting behind the finished screen with a drink in hand and the sunset cutting through the slats is a different experience than the open view we had before. The screen isn't perfectly plumb if you know where to look at the brackets, and it never will be, but it's up, and the porch works the way we wanted it to. It reminds us of building a DIY outdoor kitchen without hiring a contractor. The parts you had to fix mid-build are usually the parts you remember best. If a crooked post is the only thing standing between you and an evening outside without an audience, build the screen anyway. Just budget the extra weekend, because Shane was right about that part.