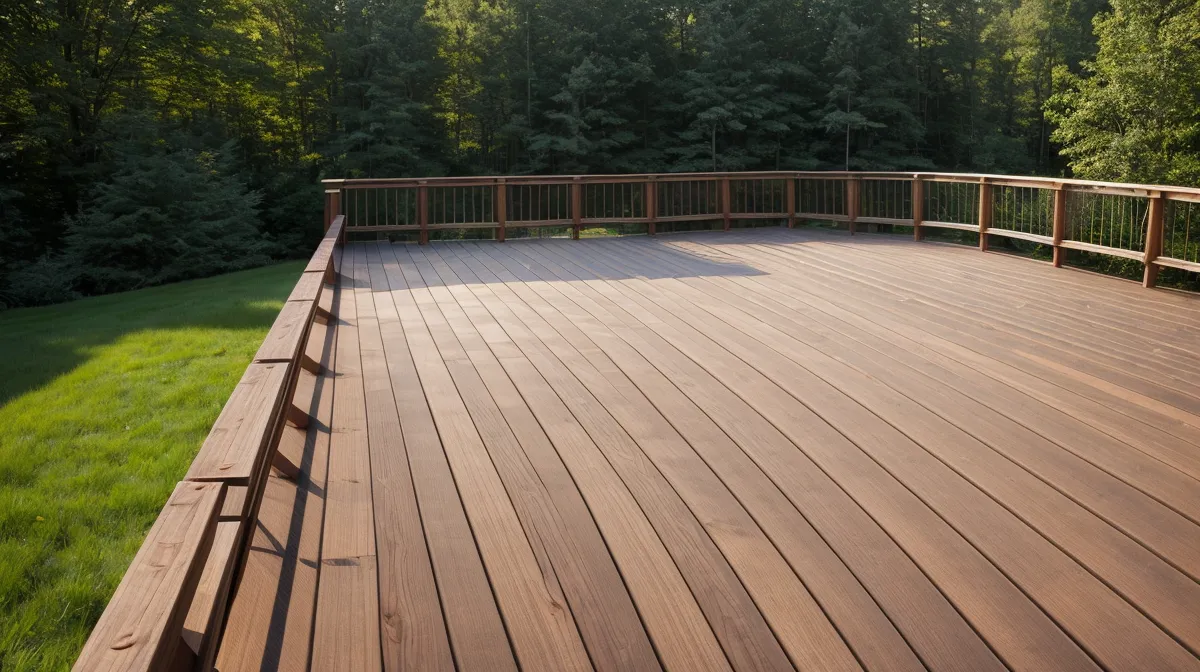
Forty bucks. That's what one wrong pencil mark cost us the first time we tried cutting stair stringers for the Southern Yellow Pine platform deck we'd just finished — a perfectly good 2x12, notched clean, and completely useless because the layout was mirrored for the wrong side. This whole outdoor woodworking detour started because our brand-new deck ended in a two-foot drop to the grass, and every trip for more ice turned into a knee-crunching jump. Somewhere between that jump and the mirrored board, we became the kind of DIY deck-building couple who argues about a measuring tape mid-project, and this is what we actually learned about stair stringer layout doing it.
She plans, I cut — except that division falls apart within about ten minutes of any new project, and stairs broke it faster than usual. A flat platform deck is just a big box. Stairs are geometry that doesn't care how tired you are or how humid it is. Below are the questions we kept circling back to, in the order we actually needed answers.
How Much Total Rise Are You Actually Working With?
Total rise is the distance from the top of your decking to the ground, and you measure it before you touch a saw — not after. Ours came out to 23 inches, which sounds tidy until you remember the International Residential Code caps riser height at 7.75 inches and wants at least 10 inches of tread depth. Divide 23 by three and you get 7.66 inches per step, just under the limit — but only if the ground where your bottom step lands is actually solid and level, which ours was not. We found that out the hard way once already, back when the deck itself was still just a stack of lumber: we tried digging the post holes for the frame with a manual clamshell digger, gave up on that partway through, and rented a power auger the next morning like we should have from the start. That lesson carried straight into the stairs — check the ground before you commit to a plan on paper.
Getting the treads and risers plumb and level isn't a nice-to-have here, either. You can eyeball a fence post and get away with it. You cannot eyeball a staircase. The error compounds with every step, the same way getting a ratio wrong on the first line of a doubled recipe ruins every line after it.
Why Did Our First Stringer Come Out Mirrored?
Because we didn't sketch anything first. We just started marking off the deck's rim joist by eye, which is exactly how you end up cutting a beautiful, useless mirror image of the stringer you actually need. There's a specific kind of quiet that happens in a house when someone realizes they just wasted forty dollars on one board. We'd also forgotten to account for tread thickness. A 2x12 measures 1.5 inches in actual dimension no matter what the "nominal" label says, and once you add the decking on top, you have to drop the bottom of the stringer by that thickness or your first step ends up huge and your last step ends up tiny. Miss that detail and you'll catch a toe on your own stairs every time you're carrying something and not looking down.
We drove back to the hardware store for a replacement board, which is where a guy at the lumber yard we usually deal with, Shane, would've had something to say about it — he's the one who started texting us when cedar goes on clearance after we showed up three times in one week during the deck build, and he's quietly skeptical of anybody who tells him a project will be done "by the weekend." He wasn't wrong to be.
Do Stair Gauges Actually Make a Difference?
Yes, and we should've bought them before the first cut, not after the third one. Stair gauges are small brass fittings that clamp onto a framing square. Set one at your riser height, one at your tread depth, and you slide the square down the board tracing the same angle every time instead of measuring each cut with a pencil and a hope. It turns stringer layout from guesswork into a repeatable system, which matters a lot more than it sounds like it should. You don't need a garage full of gear for this job, either — a circular saw, a drill, and a square with gauges cover it.
While we were figuring this out we went back through the best backyard builds we actually finished looking for a pattern, and the ones that held up were the ones we'd over-built slightly rather than exactly to spec.
Stair Stringer Layout: Ledger Board Versus Toe-Nailing
Most advice says lean the stringers against the deck's rim joist and toe-nail them in. We didn't do that. We bolted a dedicated ledger board underneath the deck frame and hung the stringers off it with sloped joist hangers instead, which took longer but gave us something more solid than a handful of angled nails fighting gravity. NC clay swells and shifts with every heavy rain, and toe-nailed connections are exactly the kind of thing that loosens under that movement over a couple of seasons. It's a bit like the difference between a stud wall and a stair. A wall forgives a stud that's an eighth-inch proud; a staircase does not forgive much of anything.
We landed the bottom of the stringers on a small poured pad rather than bare dirt. That's plenty for a low landing point like this one — for anything with real footings going down below frost line, that's a different conversation than the one this article is having.
How Far Apart Should the Stringers Really Be Spaced?
Sixteen inches on center, measured from the middle of one stringer to the middle of the next, if you're using standard 5/4 decking for treads. Go wider and the boards flex underfoot, then cup, then hold water — and in our climate, standing water on wood is the enemy of basically everything we've built, from the coop to the outdoor privacy screen off the back porch. Three stringers spaced evenly across a normal stair width gets you there without adding a fourth for no reason.
We used 3-inch structural screws to fasten everything, because nails backed themselves out of an earlier project after one season of temperature swings and we weren't doing that twice.
Do You Need a Permit for a Three-Step Staircase?
Check with your county before you assume the answer either way — ours stayed under the threshold where a permit kicks in for a run this short, but that number moves depending on where you live and how many risers you're adding. It's a five-minute phone call that saves you from redoing inspected work later, and it's worth making before you buy lumber, not after.
Jonas — a guy from our county's DIY Facebook group who started commenting on everything we posted after the shed article and eventually just drove over to look at the finished deck in person — asked us this exact question standing on the new steps. He's like that with every project, genuinely excited about builds that aren't even his, which is a rare thing in a comment section.
Getting the Treads Down Without Trapping Water
Leave an eighth of an inch between tread boards. It looks like nothing until the first real thunderstorm, when a tight-butted tread turns into a shallow puddle that sits there for a day. With the gap in, water runs straight through instead of pooling, and the boards dry out fast enough that they're not still damp the next morning. We used pressure-treated stock for the stringers and treads both — for anything touching the ground or exposed edge-on to weather like this, untreated lumber isn't really a live option, unlike some interior trim decisions where it's more of a toss-up.
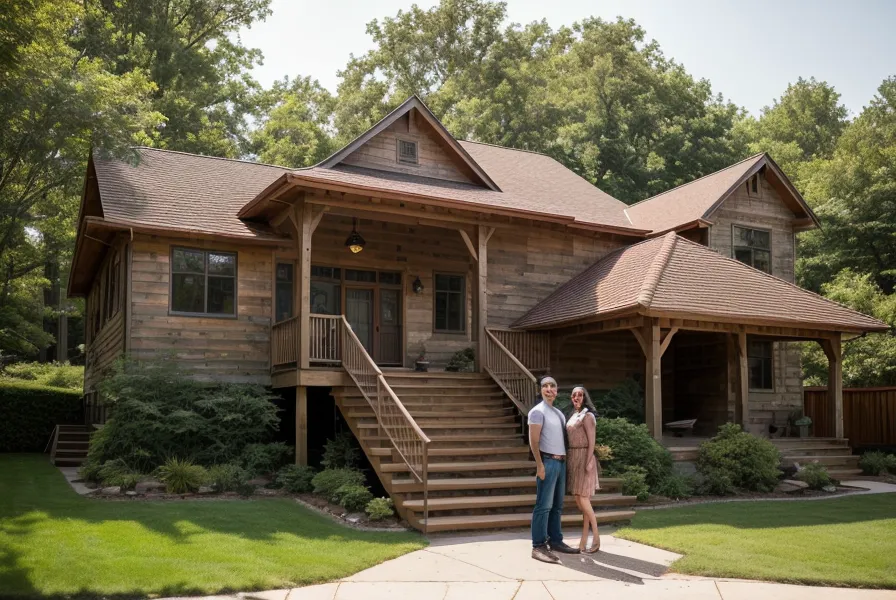
Handrails aren't optional once you're past a certain number of risers, and we added them anyway even at three, mostly because a set of stairs with nothing to grab feels wrong every single time you use them in the dark.
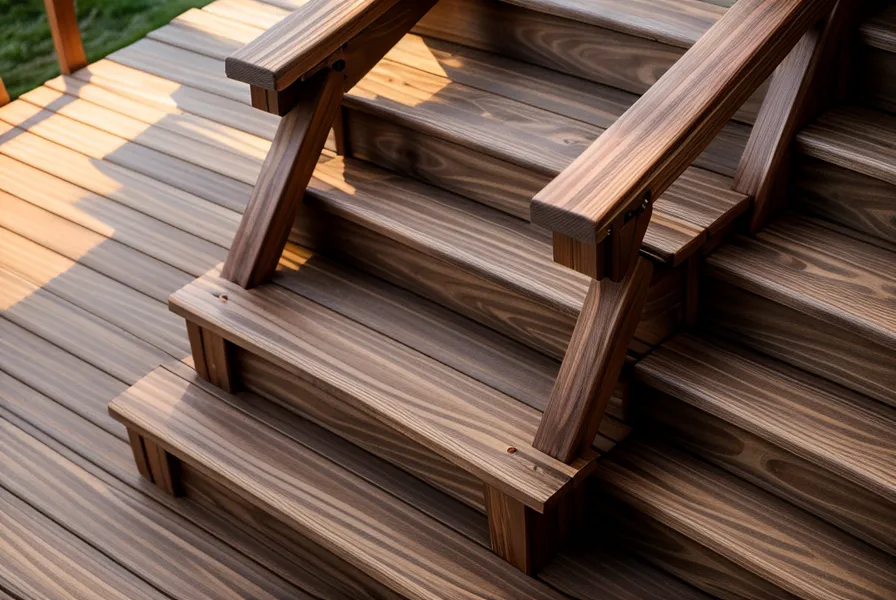
Handrails and the Moment We Knew the Stairs Were Right
You know the stairs work when nobody thinks about them anymore. That gap between deck and grass used to be a thing everyone in the house navigated carefully. Once the treads went down, the kids just started sprinting straight past the deck rail and down to the playhouse without anyone calling them or checking their footing first — no hesitation, no thinking about it, just gone. That's the whole test, honestly. Late in the day the chicken coop throws a long shadow that creeps across the new boards as the sun drops behind the fence line, and it's the kind of ordinary thing you only notice because you're finally standing still on stairs instead of thinking about where to put your feet.
Building these stairs changed how we look at the rest of the yard — the deck stopped being an island and turned into a transition point, which got us thinking about bigger projects like building a DIY outdoor kitchen without hiring a contractor, since stair math turned out to be harder than most things we've tackled since. If you're standing on your own platform deck wondering whether you can handle the stairs: sketch the rise first, buy the stair gauges before you need them, and don't be surprised if you need a spare 2x12 anyway. The view from the top is a lot better once you're not jumping to get there.