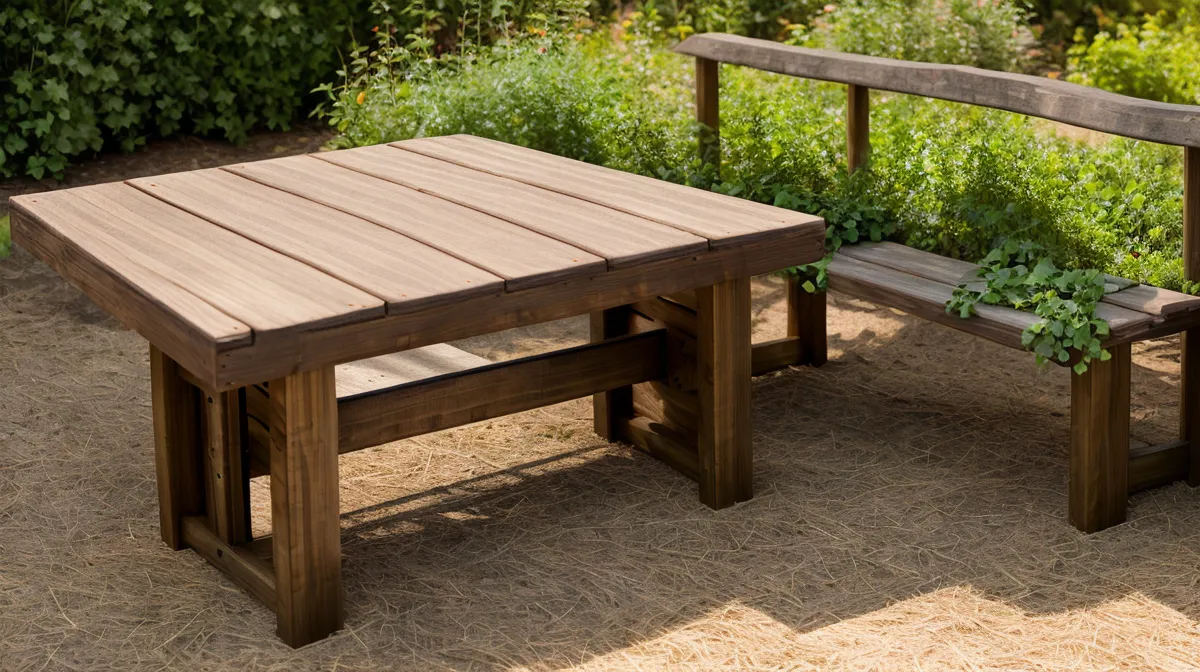
Two coffee mugs are already empty and the boards under our feet still carry that raw-lumber smell when it finally hits us, out loud, on the new deck: we've built a coop, we've built a deck, and there is still nowhere back here to actually sit for more than five minutes at a stretch. Our half-acre backyard in rural North Carolina has plenty of dirt, plenty of pine trees, and exactly zero pieces of outdoor furniture that weren't left over from a tailgate — which meant our next backyard project needed an actual woodworking plan, not another afternoon of winging it.
Quick disclosure before we get into it — this post has affiliate links, and if you click through and buy something, we make a small commission at no cost to you. We only point people toward plans and resources we've actually used on our own builds, including the ones that kept this particular bench from turning into a very expensive pile of scrap.
Backyard furniture at the hardware store looked like a joke once we actually priced it out — flimsy cedar benches that cost more than we wanted to spend and looked like a stiff breeze would tip them into the flower bed. Who pays that much for something that won't even survive a summer storm? Between the soil, the slope, and the humidity out here, a mass-produced bench built for a flat suburban patio was never going to hold up. If we wanted something that could actually last, we were building it ourselves.
A Plan Built for Our Kind of Dirt
Planning always falls to her, which mostly means she disappears into plan libraries for an evening while I'm already out back sharpening blades I don't need to sharpen yet. We used to just wing it — cut a board, hold it up, cut it again — but enough ruined lumber taught us to start every build from an actual plan instead of a hunch. Out here, the soil isn't optional information. Our whole lot sits on red clay, the kind that's heavy after rain and rock-hard in August, and it moves under anything you set on top of it.
We dug through the same plan library we always start with, the one with something like 16,000 plans in it. It's a genuine rabbit hole. You go in looking for a bench and come out twenty minutes later reading about horse barns you will never build. Filtering down to outdoor furniture and beginner-friendly got us to a design built from 2x4 and 2x6 framing lumber, which sounds simple until you remember that a "2x4" hasn't actually measured two inches by four inches since it left the mill. It looked sturdy enough to survive our yard and simple enough that we wouldn't be arguing about it by the time the porch light came on.
Complicated is where we get ourselves in trouble. Every time we've reached for something fancier than our skill level — decorative trim, angled cuts that needed to match perfectly — we've ended up with a pile of scrap and a bad mood. This bench called for clean lines, screws instead of anything decorative, and a design forgiving enough for a hot, buggy Saturday morning.
Planning for North Carolina Humidity
Getting the truck loaded with pressure-treated lumber took twenty minutes; getting used to the humidity took longer. Late spring here means you step outside and the air just sits on you like a wet towel. We went pressure-treated for the legs and anything close to the ground, since that's the wood taking the real punishment, and left it at that — not every board on this build needed the same treatment, just the parts that would actually touch dirt or grass.
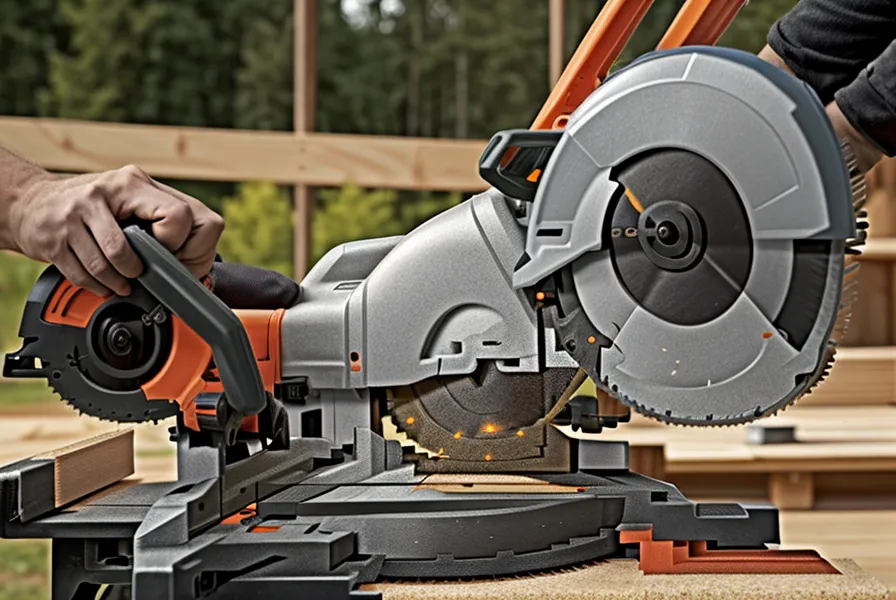
We hauled the boards to the driveway and had our usual argument about who runs the miter saw. He wins that one most weekends, mostly on speed, though she's the one who catches the mistakes before they turn into missing lumber. Screw choice wasn't up for debate this time. A previous project already had us learning some expensive lessons about which fasteners hold up outside and which ones rust and streak the wood within a season, so the correct box of screws came out from the start.
By hour four at the assembly table, the heat had turned into an actual problem. I straightened up at one point with that specific lower-back ache that shows up more every year, but the frame was already coming together — square, solid, and clean enough that you'd have to go looking to find a single screw head.
One Backwards Armrest Template, One Lost Hour
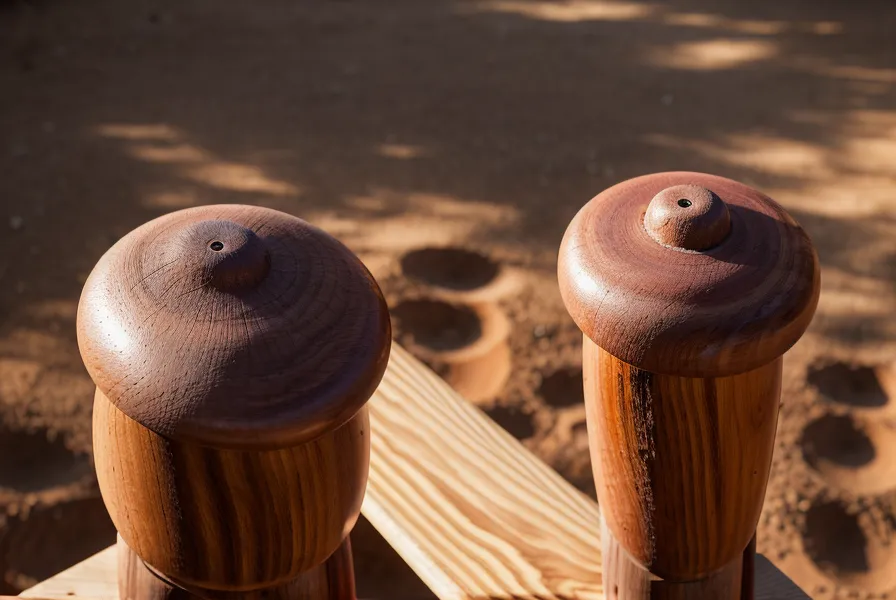
Right when we thought we were coasting to the finish, I flipped the armrest template over without noticing and cut two identical pieces for the same side of the bench. We had one perfect right armrest and a second perfect right armrest, which is a completely USELESS thing to own two of. We stood there looking at the boards, then at each other, deciding whether to laugh about it or go inside.
We laughed — it wasn't even close to the first dumb mistake on this build. Patrice, who lives a couple streets over and never shows up to a work weekend without a full cooler, happened to be over helping with something else entirely and just shook her head at the two matching armrests. We had enough scrap to cut a proper left side, but it cost us an hour we didn't have. It's part of why we still keep a smaller library like My Shed Plans around even for projects this size — a clear diagram helps, but it can't save you from holding a template upside down on a hot afternoon.
That kind of hour matters more than it used to, because we haven't always insisted on doing every single thing ourselves. During a big push to frame out the workshop last year, we brought in a guy for a weekend to help us move faster. We never nailed down exactly what "finished" meant for that weekend, and by Sunday afternoon we were disagreeing about priorities badly enough that the whole thing stalled until we picked it back up ourselves weeks later. It's part of what pushed us toward the decision to build it yourself on smaller projects like this one — fewer people to get out of sync with.
Leveling a Bench on Ground That Won't Sit Still
Wood was never the hard part. Ground was. Our lot slopes just enough that red clay turns to soup in a hard rain, and anything set straight on the grass out here tilts within a month. Most plans assume you're building on a patio slab or at least something flat and stable, and ours is neither.
We spent an afternoon digging small footings and packing them with gravel for drainage instead of just setting the legs on dirt and hoping. It felt like a lot of effort for a bench, honestly, until we remembered how much our raised garden beds had shifted the year before. We also decided early on that the bench needed to stand on its own out past the tree line instead of getting tied into the existing deck — one less thing to match up structurally, one more spot to actually get away from the house.
Even after all that, tightening the last few screws, I caught myself squinting at the finished frame. Somewhere in my head is a small, nagging voice asking if anyone will notice that the left leg sits maybe an eighth of an inch shorter than the right. She insists nobody will ever see it. I know it's there anyway — that's the kind of thing only the person who built it ever notices.
Four Weekends Later, We Finally Sat Down
Rain, a dead lawnmower, and regular life pushed this well past the single weekend we'd optimistically planned. By the fourth weekend, the bench was finally done — sanded, assembled, and sitting in the driveway waiting for its last coat.
We brushed on two coats of a heavy-duty outdoor sealant to handle the sun and the humidity, and left a small gap between the seat boards on purpose — wood outdoors swells and shrinks with the weather here, something we didn't think about at all on our very first project. Then we carried it out to the tree line, set it into its gravel footings, and sat down with two glasses of sweet tea. No creaking, no wobble, no sinking into the ground.
Looking out from that bench, the workshop behind it didn't feel quite so far from finished. Two of its walls are sheathed and solid; the third is still just a blue tarp flapping where a wall should be, and the scrap pile beside it keeps growing faster than we use it up. If we could get past the red clay and two identical armrests for a bench, that workshop is just a matter of time. We're already back in the woodworking library looking at what comes next — maybe something to finally close in that open wall.
If you're staring down a project in your own yard feeling overwhelmed, here's the short version of what four weekends and one backwards armrest template taught us: start from an actual plan instead of guessing, and take the ground under the project as seriously as the wood on top of it. It's a lot like following a recipe instead of cooking from memory — you can improvise once you know the basics, but the first few times, skipping steps just means starting over. You don't need a professional background for this. You need decent plans and enough stubbornness to keep going after you ruin the first armrest.
Ready to trade the folding camp chairs for something permanent? We still go back to the same 16,000 woodworking plans for pretty much everything we build back here — it turns the hardest part, figuring out what to actually cut, into something we can knock out before the mosquitoes show up.