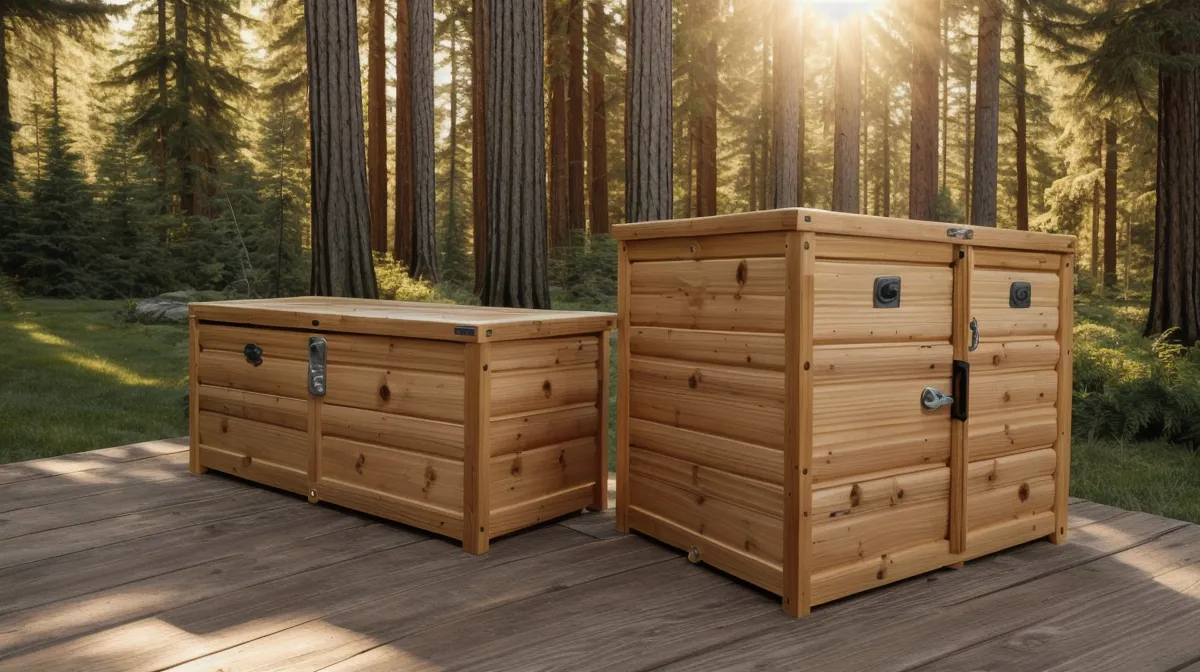
Both arms wrapped around a soaked foam cushion, we ran the second load across the deck while the sky kept dumping. That was the moment our tarp-and-hope routine officially quit on us. The fix turned out to be one of those backyard projects that sounds like a quick job: a DIY outdoor storage box, built from real woodworking plans, that handles patio organization and doubles as a bench. Here's how it goes together, step by step, plus the changes we made for humid Carolina summers.
Heads up—this post has affiliate links. If you buy through them, we earn a commission at no extra cost to you. We only share plans we have actually used on our own projects, the ones that helped us turn a mud pit into a yard we want to sit in. Our full disclosure covers the rest.
Why a DIY Outdoor Storage Box Beats the Big-Box Bins
Everything on the store shelves fell into two camps. Either it was a flimsy plastic tub that looked ready to warp in the Carolina sun, or it was a "custom" wooden piece that cost more than a month's mortgage payment. We wanted something that felt like furniture, not a trash can for pillows. She ran the numbers—she always does—and a heavy-duty box built from Western red cedar came in at a fraction of the high-end retail price.
We aren't master carpenters, and that matters here. A cushion box is a simple shape—four walls, a base, and a lid—so a good plan does most of the thinking for you. Think of it like cooking from a recipe card instead of improvising: you still have to shop and cook, but nobody is guessing at quantities.
Which Woodworking Plans Do You Start From?
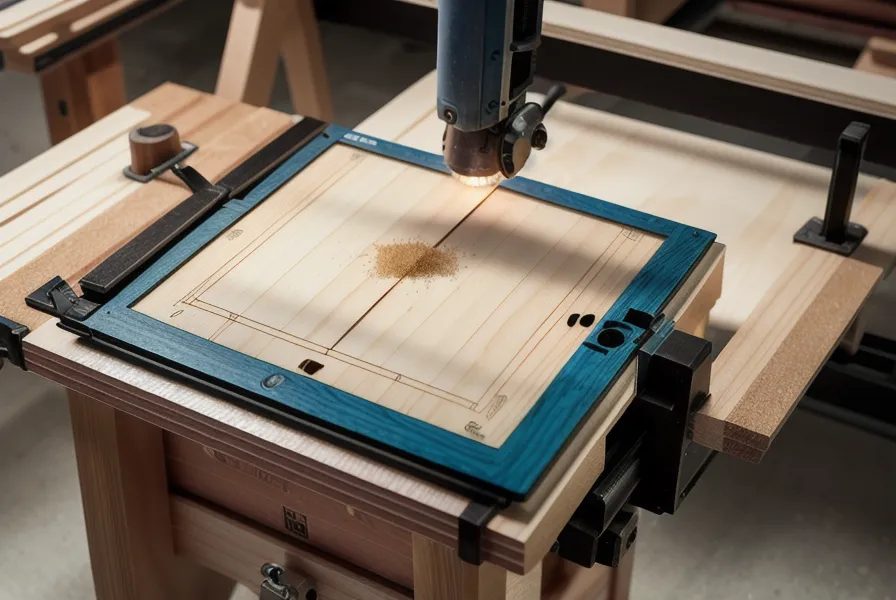
Our pick was TedsWoodworking, a library of more than 16,000 plans covering outdoor structures, pergolas, decks, and gazebos. Browsing it feels like walking into a giant grocery store when all you need is milk. Once we filtered down to outdoor furniture, we found a design sturdy enough to work as a bench but simple enough to finish before the next thunderstorm.
Three things decide whether a plan is worth your money. First, a full cut list, with every board named, sized, and counted, so you walk into the lumber yard holding a number instead of a hunch. Second, a materials list that includes the hardware, so you skip the extra store trips. Third, a look at what the plan assumes about the ground: some outdoor plans expect a level foundation to already be in place, so read the setup notes before you buy any wood.
We've had our share of outdoor building mistakes costing us money, almost all of them from guessing at lumber quantities and ending up with a pile of expensive scrap. A verified cut list ended that habit.
The Ventilation Detail That Keeps Cushions Dry
Here's where we went against the grain—literally. Most people picture a cushion box as airtight as a submarine. In the humid South that's backwards. A sealed lid holds in whatever moisture is already in the foam, and a sealed box on a muggy July day acts like a lunchbox forgotten in a hot car. The cushions come out smelling like a swamp.
So we changed the plan in two spots. The solid plywood bottom became spaced cedar slats, and we left a quarter-inch gap just under the lid overhang. Air moves through both, and the inside stays dry even when humidity climbs toward 90 percent. Your own test is simple: after a rainy day, open the lid and feel the underside of the wood. If it's damp, widen the gap before the cushions go back in.
Placement matters as much as the gaps. Slats only work if air can get underneath them, and anywhere off the deck our red clay turns cold and heavy after a night of rain, clinging to whatever touches it. Keep the box up on dry footing. If you're still weighing this build against paying someone, the lessons we learned the hard way on that question are worth a read.
Cutting and Assembling the Frame
While he ran the miter saw through the 2x4 framing lumber, she laid out the cedar planks. That split works because the frame comes first and the cladding second. Cut every frame part from the cut list, stack the pieces by size, and check each stack against the list before a single screw goes in.
Square the base before anything else. We once eyeballed the frame on our deck and ended up visibly out of square along the long side, so now the base gets checked corner to corner first. On a cushion box the lid is what gives it away: a base even a little off leaves a wedge-shaped gap on one side.
We used Pocket-hole joinery for most of the frame. A small jig drills an angled hole so a screw can pull two boards tight from the inside, which hides the fasteners and gives you a strong joint without any fussy carpentry. It's forgiving, and forgiving is what we need.
Buy One Spare Board
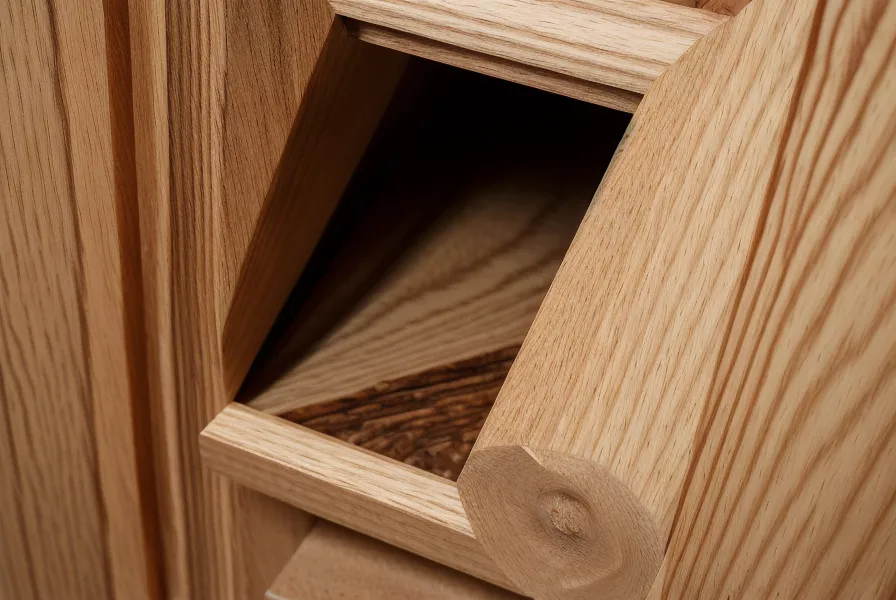
One long side rail ended up two inches short on a day the neighbor's tractor was rumbling along the fence and pulling our eyes away from the saw. It was the last of the clear-grade cedar, exactly the stock you can't easily replace. We stood there in the kind of silence only a DIY couple knows, both running the same math: make it work, or drive back to the store? Our projects usually take at least three trips. This time the TedsWoodworking cut list had told us exactly what to buy, so we'd over-bought one board just in case, and that board saved the day.
Whichever board is hardest to replace gets a spare. For picking boards, Shane Cottle, an acquaintance from the county lumber yard, knows the delivery schedule by heart and which batches have the straightest boards, so we ask him before we start digging through the pile.
Finishing the Box: Stain, Hinges, and a Gas Strut
We finished the box with a transparent UV-resistant stain to keep the cedar glow from turning gray too fast. For hardware we chose stainless steel hinges and a gas strut—the same kind that holds up a car trunk—so the lid never slams on anyone's fingers. Cheap plastic bins don't come with details like that.
The first time clouds rolled in after we finished, I watched two kids from down the road sprint straight for the box and stuff the cushions inside without anyone calling them over. The lid works as a bench that holds three people, and the cushions stay out of the weather.
Is It Worth Building Your Own?
Build it if you have cushions crowding your garage or getting ruined on the deck. You don't need a shop full of tools, just a decent drill, a saw, and a plan that doesn't leave you guessing. Buy a ready-made bin instead if you need storage by tomorrow, because a build like this takes real evenings.
If you're after something bigger, like a home for the lawnmower or garden tools, we've also used My Shed Plans, which has about 12,000 shed designs. It leans toward sheds and storage, so look elsewhere for decks or pergolas, and quality varies from plan to plan, so read the details before you buy lumber. We leaned on it when pouring our first concrete shed slab, and the foundation guidance alone saved us a headache with the county inspectors.
The biggest takeaway: modify the plan for your climate. In North Carolina, heat and moisture are the enemies, so give the wood room to breathe. Use stainless hardware so nothing rusts (especially if you're closer to the coast than we are), and for heaven's sake, double-check your cut marks before the saw touches the board.
Stop sprinting for your cushions every time the clouds turn gray. You can find the plans we used—and thousands of others—at TedsWoodworking. The current price is listed on their site and can change with seasonal promotions, but the trips it saved us at the lumber yard made it worth it. Now, if you'll excuse us, that's the neighbor's tractor starting up again.