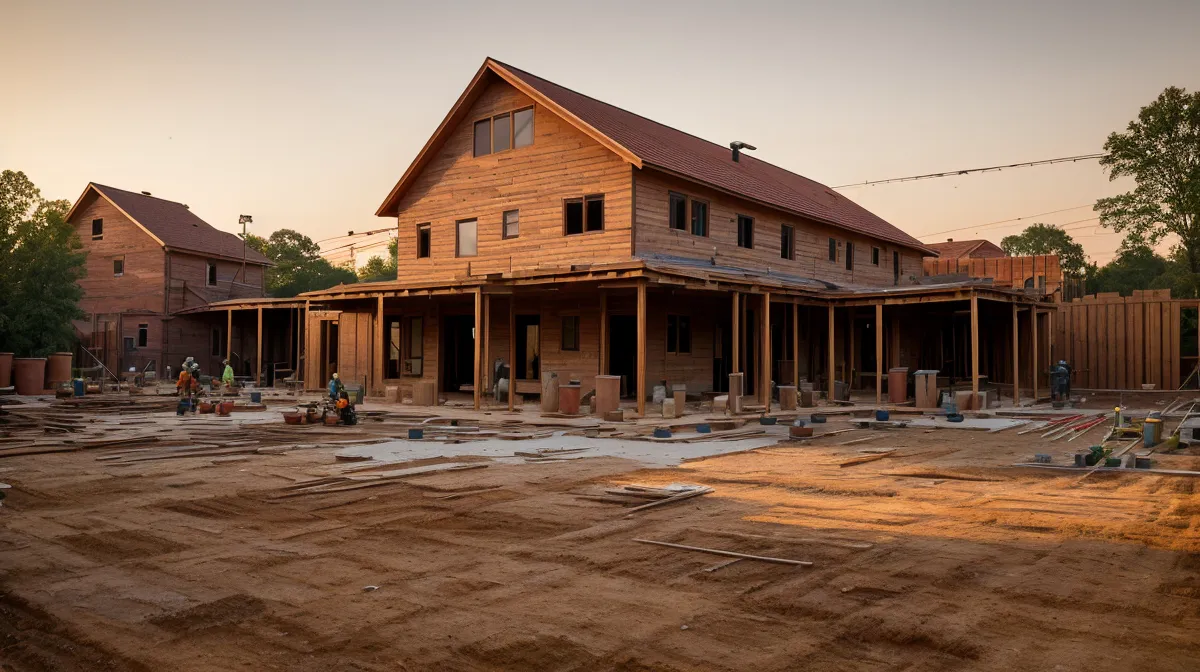
How much water can three inches of badly sloped dirt send straight at a house foundation during one good spring storm? We didn't know the answer until we were both standing in a flooded crawlspace, and by the time we found out, a simple backyard project had turned into a crash course in foundation drainage, soil management, and the kind of DIY grading math we'd never bothered to learn before.
The crawlspace was the first clue. Water was slipping past our French drain and running straight for the main support beam, a slow drip we could hear before we could see it. She was upstairs wringing out towels in the mudroom, and I was down there in the dark, realizing our "charming" fixer-upper was basically acting as a drain basin for the whole half-acre.
We walked the perimeter once the rain let up, and it didn't take a surveyor to see the problem. The previous owners had more or less built a bowl around the house. Grass, trees, a little charm — none of it mattered, because every storm funneled water straight at the foundation instead of away from it.
Why DIY Grading Math Beats Eyeballing It
Here's the thing about "sloping it away from the house" — it isn't just friendly advice, it's written into the International Residential Code. Section R401.3 calls for the ground to drop a minimum of 6 inches over the first 10 feet away from the foundation. Builders call that a 5% slope, and it sounds simple right up until you try measuring it across a lumpy, weed-choked yard.
We already had proof that our eyes lie to us on a slope. Eyeballing the frame measurements on our deck build last year left us three inches out of square across a twelve-foot span, and we didn't catch it until the joists refused to sit right. That one still makes me wince, which is exactly why we weren't about to eyeball six inches of drop over ten feet with an entire foundation riding on the outcome.
Layout stakes came from the county lumber yard, where Shane rang us up and asked what we were building this time. We told him the plan was to regrade the whole backyard in a weekend, and he gave us the look he reserves for anyone dumb enough to put "weekend" and "project" in the same sentence. He wasn't wrong.

The String Level, the Hydrangea, and Starting Over
We pounded a stake against the foundation and another ten feet out, then ran a string between them with a little clip-on level to keep the line dead horizontal. Measure down from the string at each end, and the math tells you exactly how much dirt needs to move. Simple, in theory.
Four hours into a humid holiday weekend, soaked through and feeling like real contractors, we stood back to admire our grade. Then we noticed the string sagging on a hydrangea branch halfway down the line — just enough slack to make every measurement we'd taken useless. We hadn't built a slope. We'd built a flat shelf that would hold water against the brick all summer.
Starting that whole stretch over meant moving even more clay than planned, and the leftover pile ended up filling the spot where we later tackled building a DIY outdoor storage box for patio cushions. We took a lunch break at Chatham Mills that same weekend, both of us caked in dried red clay, drawing looks from everyone in actual clean clothes. Nothing on a half-acre like this goes to waste for long, not even an afternoon.
Don't Pile Dirt Against the House
Piling dirt higher against the house is the lazy way to chase that slope, and it's also how you invite termites to dinner. Bury the gap where your siding meets the foundation wall and you've built what the pest control folks politely call a soil-to-siding bridge — a free ramp straight to the wood. You want at least 4 to 6 inches of exposed foundation showing below the siding, always.
So instead of building up near the house, we dug down about 12 feet out — a shallow, grassy ditch called a swale, wide enough to catch water and walk it off toward the back woods. Digging is slower than piling dirt, and nobody feels heroic doing it, but replacing a rotten rim joist in five years sounded a lot worse than two extra days with a shovel.

Why Does Compacted Clay Keep Sinking?
Three weeks in, we thought the grading was finished. Then a light afternoon rain settled our beautiful new slope right back down, flatter than when we started. Soil compaction is the invisible enemy of the DIY grader — loose dirt is full of air pockets, and the first good soak chases that air out, so the ground sinks exactly where you need it to hold its shape.
Fixing it meant working in thin layers instead of one big push — two inches of clay, tamped hard with a hand tamper (or just stomped flat in a slow, muddy dance), then two more inches on top. It's a lot like reducing a sauce. Dump everything in at once over high heat and you get a mess, but give it time in thin layers and it actually sets up the way it's supposed to.
Jonas, from the county DIY Facebook group, had been asking about the swale in the comments for a week, genuinely more excited about our drainage ditch than we were. We've run into the same lesson on every other build out here — the shed needed real footings instead of deck blocks dropped on dirt, the deck needed a permit because it crossed a height threshold most people never think to check, the fence posts had to be pressure-treated or they'd rot out in a couple of seasons, and the pergola's beam span decided how far apart we could space the posts. Working from an actual plan instead of winging it in the yard is what finally made those surprises stop.
What Six Weeks of Red Clay Actually Taught Us
By week six, the grade had settled into something solid enough that a truck could probably park on it without leaving a dent. The pergola's shadow slid across the patio boards right at four that afternoon, same as always, and for once I wasn't watching the sky behind it for rain clouds.
The real test came with a Southern thunderstorm that turned the sky green and dropped rain in sheets. Instead of grabbing the shop vac and running for the crawlspace, we grabbed two beers and watched from the porch. The water hit the graded soil, sheeted away in exactly the direction the string level said it should, found the swale, and disappeared toward the trees without pooling once.
Grading is not the fun part of building anything back here. It's not a deck, it's not a pergola, and nobody takes pictures of a well-draining yard. But it's the part everything else sits on, literally. If you only take one thing from our six weeks of red clay, let it be this: get the slope right before you build anything else, because no amount of good carpentry saves a project sitting on dirt that's pushing water the wrong way. If you're ready to reclaim more of that yard once the drainage is sorted, mapping out your half-acre first will save you from the kind of "winging it" mistakes we made early on.