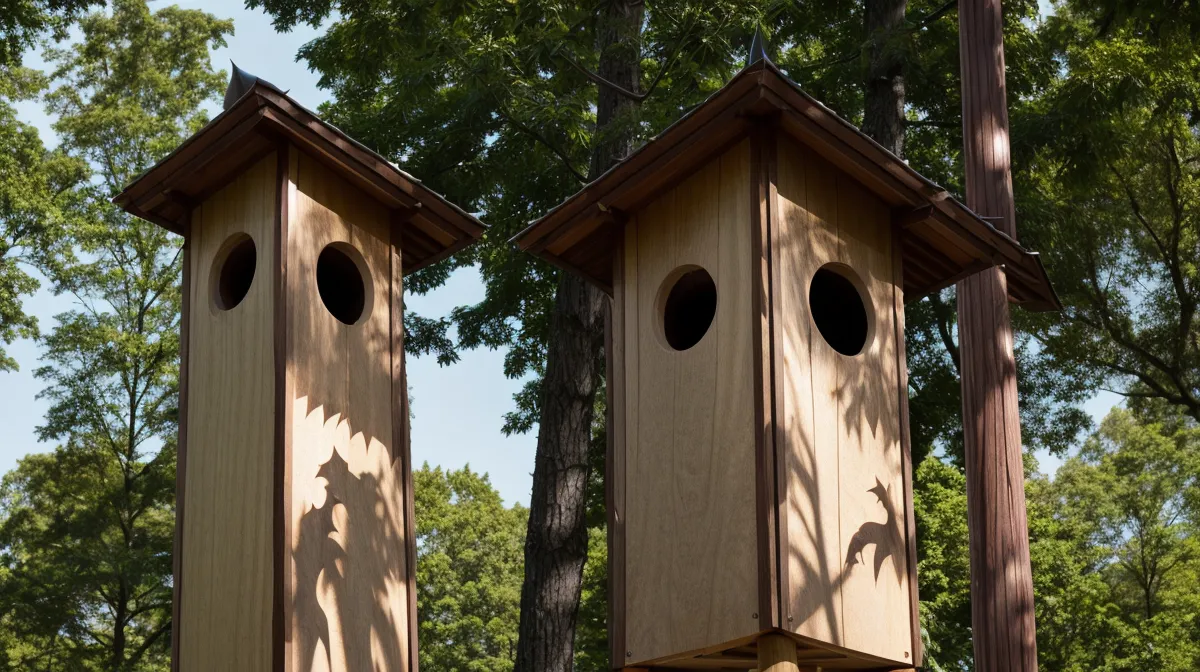
A bug zapper kills the bugs you can hear die. A bat kills the bugs you never even notice, by the thousand, every single night, for free.
Quick note before anything else — this post contains affiliate links, including to the woodworking plans we used to build this thing. We only link to resources we've actually put lumber and money behind ourselves, and buying through one costs you nothing extra while it helps keep this site running.
Our half-acre sits on the Chatham Mills side of Pittsboro, with clay soil, a fence that still isn't as straight as it should be, and evidently one of the worst mosquito problems in the county. Citronella candles did nothing useful. The zapper we'd mounted by the porch mostly took out moths, which felt like a small tragedy every time that blue light popped.
Natural Pest Control Beats the Zapper We Already Owned
One little brown bat can eat close to a thousand mosquito-sized insects in a single hour. Multiply that by even a small colony working the yard after dark, and you've got a natural pest control system that outperforms anything plugged into an outlet — no chemicals near the garden, no replacing bulbs, no waking up to a pile of dead moths on the patio. The catch is that bats are particular about where they'll actually move in. A birdhouse nailed to a tree isn't a bat house, no matter what the box says on the shelf.
Free Plans or Paid Blueprints?
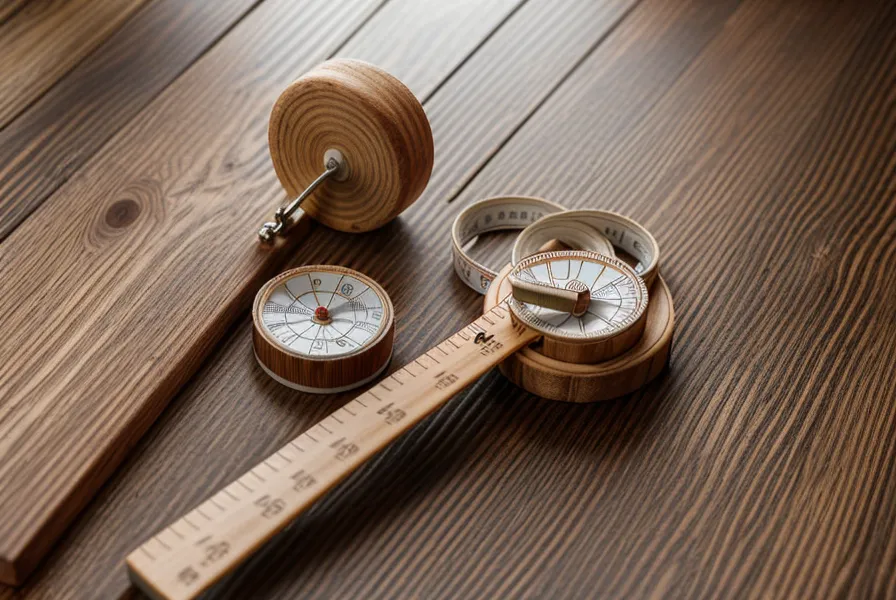
We looked into bat house conservation standards before cutting a single board, and the specs are stricter than you'd guess. The interior chambers need spacing of exactly 3/4 inch — wide enough for bats to squeeze in, narrow enough to keep predators out — plus a landing ledge at the bottom, three to six inches long, so they have somewhere to grab before crawling up into the dark. That's not a dimension you eyeball.
Free plans exist all over the internet — so why pay for a set at all? Because our first storage shed still took three weekends instead of one, plans or no plans, and we weren't about to repeat that with something as fussy as bat spacing. We went back to the same library we'd used before — TedsWoodworking — because the multi-chamber bat house plan in there had actual cut lists instead of a rough sketch. We've compared a few of these plan libraries head-to-head elsewhere, including in Building Our Way Out of a Half-Acre Money Pit: TedsWoodworking vs Self Sufficient Backyard, if you want the longer version of why we keep going back to it.
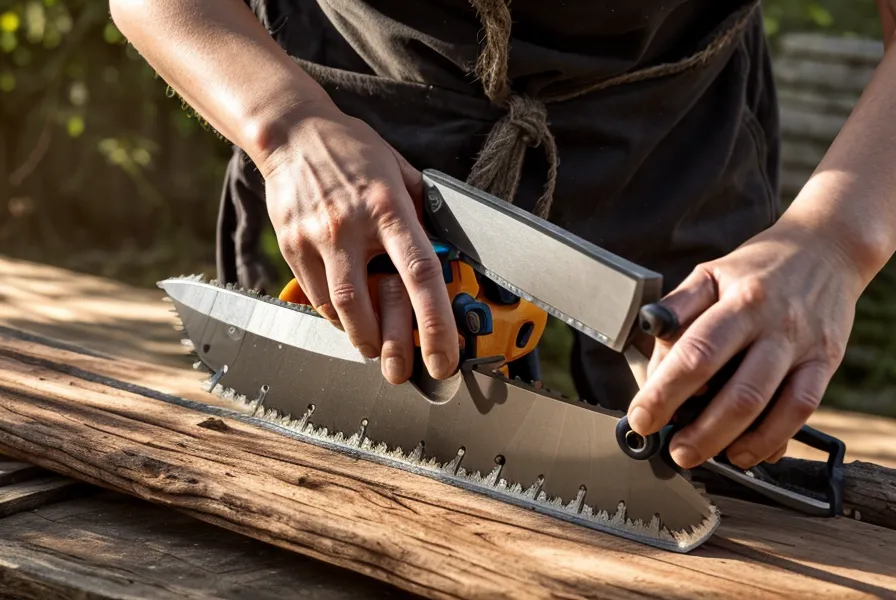
None of this needed anything beyond the tools already sitting in the shop — table saw, drill, a square that actually reads true — the same short list that gets used for every build around here, bat house or otherwise. The lumber mattered more than the tools. We used cedar wood for the whole box, since it holds up outside without chemical treatment, and cedar boards run a hair thinner than their nominal size suggests — a 1x6 measures closer to five and a half inches — which matters when you're trying to hit an interior spacing of exactly 3/4 inch and not something that only looks close.
Post-Mounted Beats a Tree, Every Time
A friend of ours who hunts deer every November and butchers it himself took one look at the finished box and asked why we weren't just nailing it to the big oak by the fence line. Good question, wrong tree. Branches throw too much shade, which keeps the box from heating up the way a maternity colony needs, and a tree gives hawks a perfect place to perch and wait for dinner to fly out the bottom. The box needed a freestanding post instead of anything attached to the house or a tree, mounted twelve to twenty feet up.
Setting that post is where we learned something the hard way. We poured the concrete footing without checking frost depth for our stretch of the Piedmont, and by late winter, two of the posts nearest the fence had heaved enough that we had to dig both back up and redo them properly. That wasn't a fun weekend to lose. It's the kind of mistake that belongs on any honest list of outdoor building mistakes.
Once the post was actually plumb and set right, the rest came down to hardware. Galvanized brackets and structural screws hold the box in place — no construction adhesive doing the structural work, just fasteners rated to survive being outside instead of corroding away in a season. A single post like this doesn't need the diagonal bracing you'd add to something wider, like a pergola beam spanning between two posts, but it does need to be checked for square and plumb before the box goes up, not after — and before backfilling, we graded the dirt around the base slightly away from the post, the same habit that keeps water from pooling around anything set in Piedmont clay. We also kept the whole thing under the height where the county starts asking questions, so there was no permit involved — a very different conversation than the one we had about the deck.
The Paint Color That Almost Went Wrong
Most bat house guides tell you to paint the box black to soak up heat, which is fine advice if you live somewhere cold. In the NC Piedmont, a black box in full sun can climb past 120 degrees, which is closer to killing a colony than helping one. We went with a medium-dark gray instead, aiming to keep the inside somewhere between 80 and 100 degrees, and spent an embarrassingly long time comparing paint chips before landing on the color.
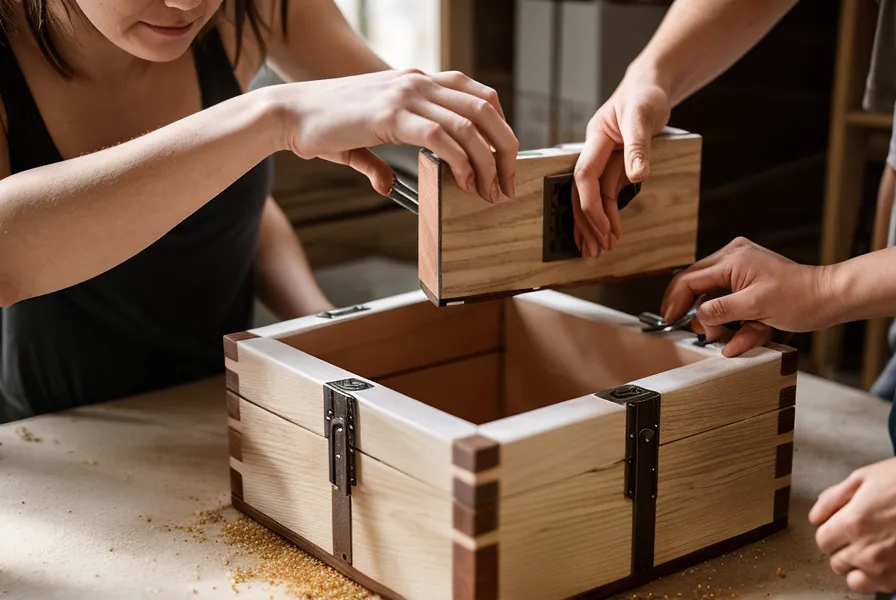
Inside, the panels needed grooves cut every half inch so bats have something to grip while crawling up — smooth cedar is basically a wall to them, no matter how sturdy it is. Piedmont humidity doesn't care about your cut list, either: a cedar panel left outside overnight had swollen just enough by morning that it wouldn't seat into its slot anymore, and we ended up planing a sliver off the edge before it sat right. That kind of movement is also why we keep pressure-treated wood off the interior entirely — the chemicals aren't something a colony should be breathing all summer, so cedar and exterior-grade plywood stay inside, and anything treated stays on the outside only.
This isn't like framing a stud wall, where being a quarter inch off here or there gets absorbed by drywall and nobody notices. Bat spacing has to be closer to exact. The same logic applies to the little roof cap on top — it needs enough pitch to shed rain away from the entrance, the same principle as any lean-to roof, just built at a fraction of the size.
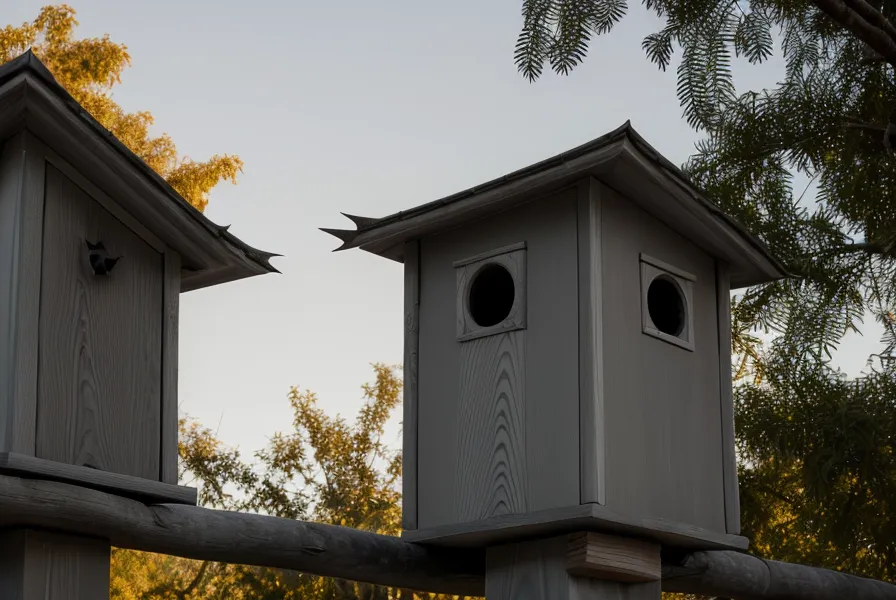
So, Tree or Post? Free Plans or Paid?
We didn't see anything happen for weeks after the box went up, then one evening we were sitting outside and caught it — a quick, jagged shape dropping out from under the box and angling off toward the tree line. We noticed the difference less from counting bats and more from a specific, almost boring realization: we could sit outside long after dark without slapping at our ankles every few minutes, something that hadn't been true the summer before.
If you've got a tree handy and you're tempted to save yourself a post, don't. Go with a freestanding pole or an exterior wall every time, mounted high enough that predators can't work the entrance. And if you're choosing between free plans and a paid set, pay for the plans when the tolerances actually matter, the way they do here; save the free version for something more forgiving. We used TedsWoodworking for this build and the shed before it, mostly because the cut lists mean we're not guessing our way through a stack of cedar.
Backyard projects like this one aren't complicated so much as they're particular. Get the plan, the mount, and the paint color right, and the rest is just cedar, patience, and a free weekend. Get any one of those three wrong, and you've built an expensive birdhouse instead of a natural pest control system. Ours is up on its post now, doing exactly what it's supposed to, which is more than we can say for the zapper it replaced.