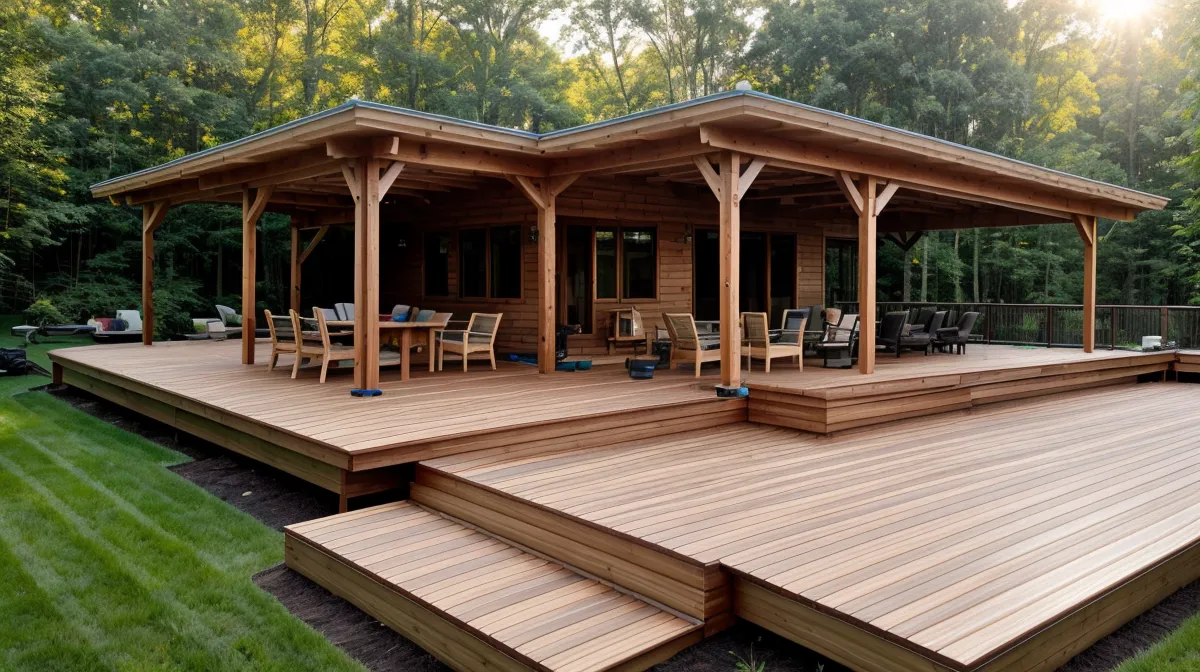
The circular saw is still screaming through a stack of leftover boards for the next project when Dale leans over the fence, like he does every time a blade starts spinning anywhere near his side of the property line, and asks if we've checked the moisture on the new deck yet. We hadn't, not that morning, and that one question is basically the whole reason people email us about deck maintenance more than anything else we build. Everybody who finishes a new deck wants to grab a brush and seal it before the next storm rolls through. Do that on wood that isn't ready and you've bought yourself a peeling, bubbling mess instead of a finished DIY outdoor project.
Our answer, every time: wait until the wood stops beading water like a car windshield, not until a calendar tells you enough time has passed. That's the whole wood-staining trick, and almost nobody explains it that plainly.
We'd already spent months getting past rural North Carolina building codes and permit thresholds just to get the posts approved, so by the time staining entered the picture, patience already felt like the running theme of this whole build.
Why New Deck Boards Reject Water And Stain
Pressure-treated lumber feels like a finished product the day it's delivered. It isn't. Pressure-treated wood is really a chemical-soaked sponge that's been compressed and planed and shipped out still angry about it, and the surface carries something called mill glaze — a shiny, crushed layer where high-speed planer blades smash the fibers flat and pull natural resins up to the top. Stain can't grip that. It just sits there, the same way paint refuses to stick to a window.
People tend to pick one of two extremes here. Some wait six months for the wood to "weather." Others stain it the same weekend the last railing goes up. Both are a recipe for a finish that's peeling within two years, because the glaze hasn't had time to break down and the wood hasn't had time to open back up. A few weeks of seasoning in open air does more for that glaze than almost anything else you can do to it.
Finding The Moisture Sweet Spot For Deck Maintenance
Dry wood is not automatically the goal. Let new lumber bake in full sun for months with no protection and it starts "checking" — those deep cracks running the length of a board that become permanent water traps the moment they open up. The target is narrower than people assume: dry enough that stain will actually penetrate, but not so bone-dry that the fibers have already started splitting apart.
A moisture meter makes this easy — most pros aim for right around 15% moisture content before staining, not far below it, so the stain can still get into pores while the wood has some flexibility left. No meter on hand? Use the water-drop test instead. Drip water on a board; if it beads up and sits there, give it another week and try again. If it vanishes into the grain within a minute, the board is thirsty and ready.
What Wood Staining Prep Work Actually Matters?
Ruben, three doors down, knocked on a Saturday wanting to know exactly this before he started on his own rebuild — the one he started right on schedule and, going by his usual pace, will probably wrap up two seasons from now. The honest answer is that prep is not optional, and it's not glamorous either. Even a deck that looks clean is coated in mill dust and construction grit, so a deck cleaner pass to open the pores comes first, and sanding comes right after.
He ran the orbital sander, she trailed behind with a shop vac, and North Carolina humidity does not make that pairing pleasant — sawdust sticks to sunscreen like it's been invited. Sixty-to-eighty grit is the number that matters here. Go finer, into the 100-120 range, and you'll polish the surface smooth again, which closes the pores right back up and recreates the exact glaze problem you were trying to remove. You want the board to feel faintly fuzzy, almost like peach skin, so the stain has texture to hold onto.
Oil-Based Stain And The Back-Brushing Trick
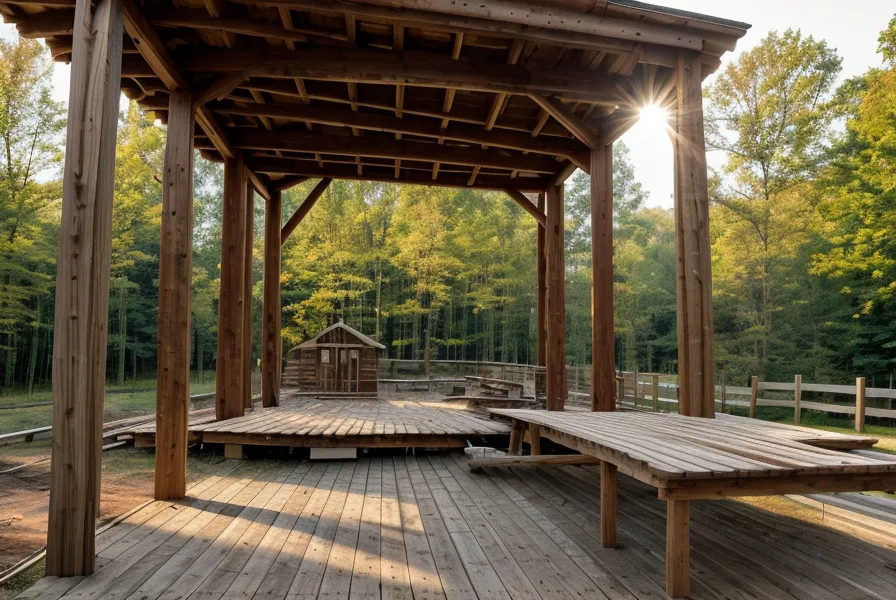
Water-based stains behave like a thin sheet of plastic laid over the wood, and in a hot, humid yard that sheet eventually bubbles and lifts. Oil-based, semi-transparent stain works more like a marinade than a coating — it needs time to soak into the fibers rather than sitting on the surface, which matters even more on something with a lot of sun-facing surface area, the way the posts did on the DIY gazebo we built after months of planning that whole backyard retreat.
The move that actually makes it last is back-brushing. One person sprays the stain on fast, the other follows immediately with a stiff-bristled brush, physically working the liquid into the grain before it can sit. Skip that step and stain pools in the low spots while the high points — the parts that take the most foot traffic and weather — end up thin and unprotected. Deck boards also move more with humidity than most people expect, swelling and shrinking across the seasons, which is part of why we left slightly wider gaps between ours than felt right at the time. And the wood itself matters here too — cedar and other naturally rot-resistant species drink stain faster and skip the mill-glaze problem entirely, but pressure-treated is what we built with, so that's the process described above.
When A DIY Outdoor Project Goes Sideways
Everything was going fine until the stairs. Rhythm down, grain popping, feeling like we actually knew what we were doing — right up until a jingle of tags gave away that the neighbor's dog had slipped his fence and picked our wet deck as his shortcut to the woods behind the house. Muddy paw prints across a freshly stained stair tread are not a quick fix. We had to let it dry slightly, sand the spot back to bare wood, and blend new stain in by hand, and if you look closely at that third stair today you can still tell something happened there.
That early slog through permits and inspections felt like the hard part of this build, back before the staining started — turns out the actual hard part was keeping a dog's paws off wet oil stain. We'd already paid for skipping real plans on a different project, too: a free YouTube tutorial stood in for an actual set of plans once, and it cost us a full sheet of plywood cut wrong before we figured out the lesson. Staining wasn't a step we were willing to wing after that.
How Long Before You Can Use The Deck Again?
Forty-eight hours, no exceptions, before anyone sets foot on fresh stain. Patio furniture can wait. Oil stain stays tacky far longer in Southern humidity than the can suggests, and walking on it early leaves permanent footprints or drags pigment straight back out of the wood. Two days of keeping curious feet and curious pets off the surface is a small price for a finish that holds.
The real proof came with the first real thunderstorm after that waiting period, the kind that turns a yard to swamp in twenty minutes. Instead of soaking in and darkening, the water beaded up clean across the whole deck, every board, no dull patches. It's the same quiet, private satisfaction as cracking open a frost-covered cold frame in the dead of winter and finding the seedlings inside still green and alive, proof that something you built with your own hands is actually doing its job, no instructions required. Around here, homestead improvement never really finishes. It just moves on to the next board.